Setting up a new (OS X) development machine: Part 1 - Core Files and Custom Shell

This is a series of posts on Setting up a new OS X development machine.
!Warning: This post is over a year old. I don't always update old posts with new information, so some of this information may be out of date.
Between onboarding new developers, wiping old computers and starting from scratch, and buying new computers, I've done a fresh install of my development environment at least a dozen times in the last year or so. Over this time I've started identifying ways I can optimize my experience of getting a new machine started.
I'd love to share some of these tips with you, and I'd also love to hear your tips from you on Twitter and add them to this post.
Sync your "core" files
The first thing I do when I'm setting up a new machine is get my core files in. There are many ways to sync these core preferences and configuration files--storing them on a thumb drive, in your email, Github, etc.--but I use Dropbox to sync them. So, before I do anything else, I start the Dropbox syncing process. 1password, Alfred, zsh, textexpander, and many of my other apps rely on configuration files that I sync across my machines with Dropbox, so Dropbox sync is vital.
Set up your terminal environment
Now that we have our core files synced, we're ready to start customizing our terminal.
Before I do any work in the terminal, I'll be sure to install iTerm2. I actually install it using Homebrew Cask, but we won't get to that until the next blog post, so for now just download iTerm2 and install it.
iTerm2 is free, highly used and tested, and adds a ton of custom functionality that you can add later if you'd like, and also handles some default functionality and styles better than OS X Terminal. So, even if you don't notice the difference, just start with iTerm2 now for the sake of future you.
Zsh/OhMyZSH
You may not know this, but even when you open the terminal, you're interacting with one particular "shell"--the default on your Mac is called Bash. You can choose which shell you're most comfortable with, although the default for most people is going to be Bash.
For years I maintained a set of configuration files for exactly how I wanted my Bash configured, which I had stolen and cobbled from others. You can still see it at github.com/mattstauffer/dotfiles.
But about a year ago, I discovered that there's a shell called Zsh, and together with a plugin infrastructure called OhMyZSH, it had all of my desired features (and many more) right out of the box. I can't recommend Zsh+OhMyZSH enough.
Installing OhMyZSH is extremely easy, and Zsh is already available on your system:
$ curl -L http://install.ohmyz.sh | sh
Run that, follow the prompts, edit your ~/.zshrc file to set a theme and choose your plugins, and you're ready to go!
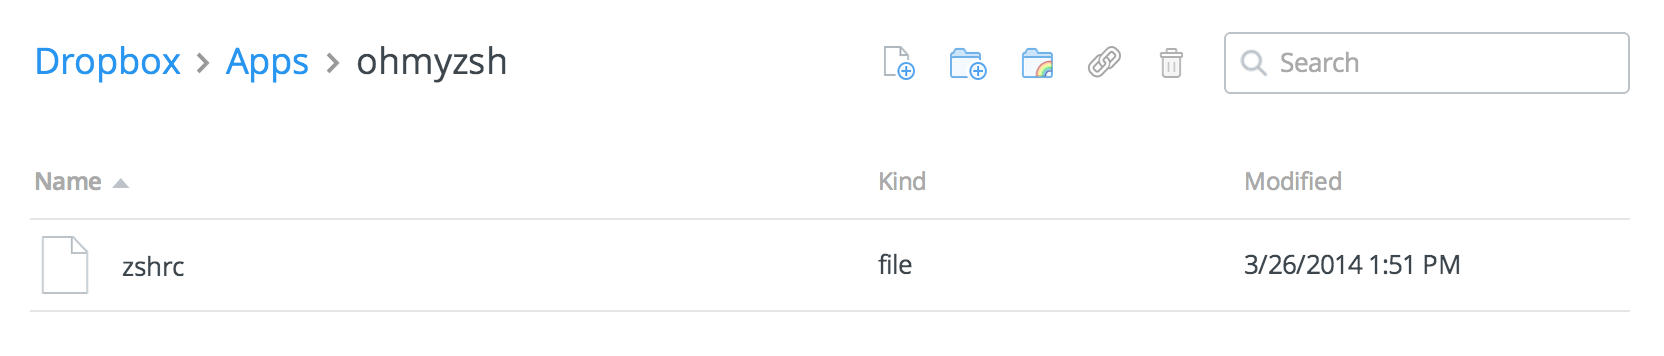
.zshrc
Your ~/.zshrc file is the configuration file for Zsh. (What are RC files?)
When you first install OhMyZSH, it'll create a .zshrc with some default settings and options that allow you to choose your OhMyZSH theme, plugins, and settings.
Edit the file in your favorite editor and change the default settings to whatever you'd prefer, and check back in a few posts to see my favorite defaults for my own .zshrc.
Next: RVM, NPM, Homebrew, and Cask
At this point you have a nicely styled, turbo-boosted terminal and synced access to all of your core config files.
Next, we're going to talk about using Homebrew to install command-line and GUI apps, manage dependencies and Ruby versions with NPM and RVM, and use dotfiles to configure your terminal, your editors, and your SSH connections.


Comments? I'm @mattstauffer on Twitter
Tags: development • zsh • osx • ohmyzsh
This is part of a series of posts on Setting up a new OS X development machine:
-
May 27, 2014 | development, zsh, osx, ohmyzsh
-
May 28, 2014 | development, dotfiles, osx, ssh
-
May 28, 2014 | homebrew, cask, osx, npm, node, rvm