Creating a welcome series (drip campaign) for your Sendy newsletter

This is a series of posts on Creating Your Own Email Newsletter with Sendy.
!Warning: This post is over a year old. I don't always update old posts with new information, so some of this information may be out of date.
In my last post I showed you how to download Sendy and install it on a Laravel Forge server.
In this post, we'll be creating a series of welcome emails for every new subscriber. Before we get to a full drip campaign, let's look at the simple "thank you message" each list can have by default.
Creating a single, simple welcome email
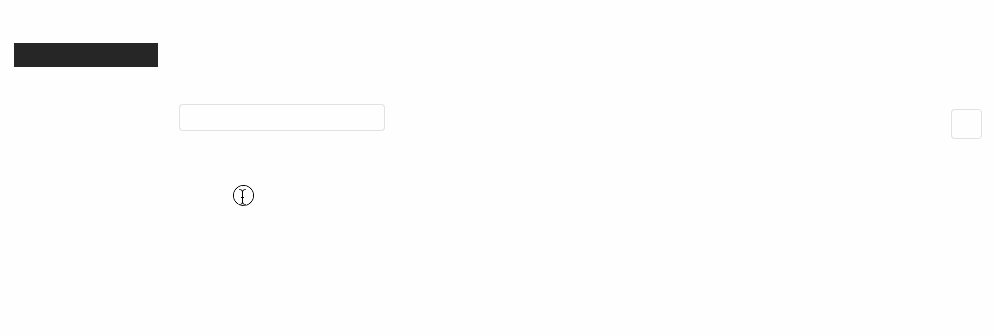
Log into your Sendy account, and visit your brand page by clicking the brand title.
Click on "View all lists" in the left rail, and choose the "Edit" icon for the list you want.
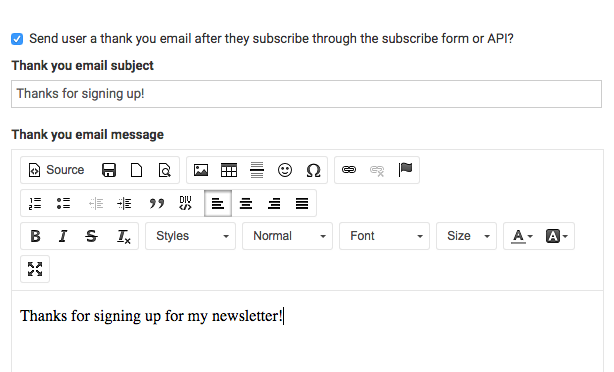
The first big chunk you'll see is, on the left, the settings for Single vs. Double Opt-in (keep it at single for now) and the subscribe success page, and on the right, the "thank you" email.
As you can see, this is just like any other email you create in the app. Set a subject, build a body (or paste in HTML), check the "Send user a thank you email after they subscribe through the subscribe form or API?" checkbox at the top, and it'll automatically be sent upon signup.
Customizing the Double Opt-In email
If you're using the Double Opt-in option, you'll have to have an email to provide a confirmation link for them to click.
Thankfully, Sendy has a default message that it'll send for you; however, if you want to customize the confirmation message, you can edit it below the "thank you" message section. Be sure to use the [confirmation_link] placeholder somewhere in your custom email.

Creating a drip campaign
A "drip campaign" is any sort of schedule of emails that are sent, not at the same time to every user, but triggered based on an event. So where a normal newsletter email is sent on June 5, 2015 for every subscriber, a drip campaign might send an email on "the first day after signup" for each unique user.
Usually a drip campaign will happen in response to one of two events: Either upon first signup (which we're talking about here), or after buying a paid training course. Either way, the trigger moment kicks off a series of emails spaced out a certain amount of time after the triggering event.
Set up autoresponders
Drip campaigns (or even a single welcome email that's not an immediate "thank you") are achieved in Sendy via autoresponders.
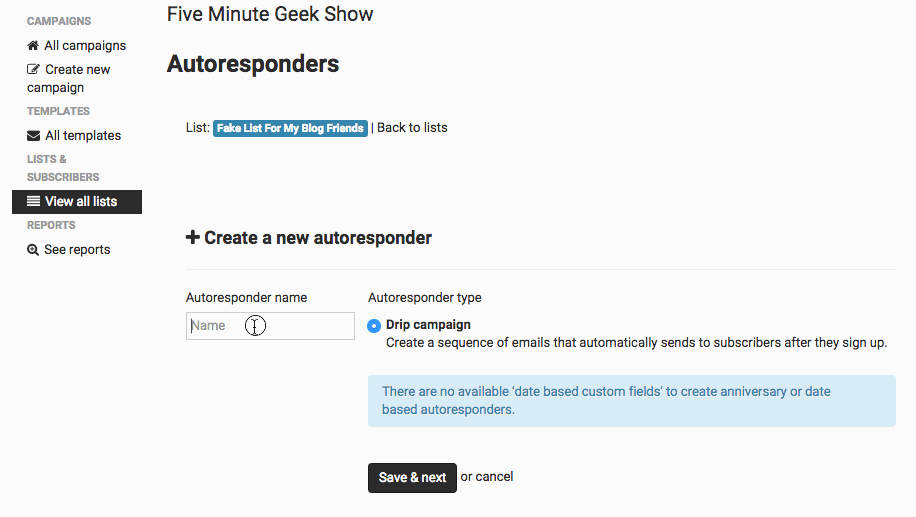
Go back to the "View all lists" page, and click the name of your list. In the upper right hand corner, you'll see the text "Autoresponders". Click that and you'll be able to set up timed emails.
As you can see, you can send off autoresponders based on custom fields, but right now we'll just choose "Drip campaign," which triggers a drip campaign based on the user's signup date. Give your first autoresponder message a name, and then you'll find yourself on the screen for the email editor.
Spacing out your emails
Once you've gotten this far, you see we're back at our normal email editor, with one unique piece: The ability to set when the email is sent out:

From here, you can just create as many emails as you want in your drip campaign, and space them out from the initial signup date.
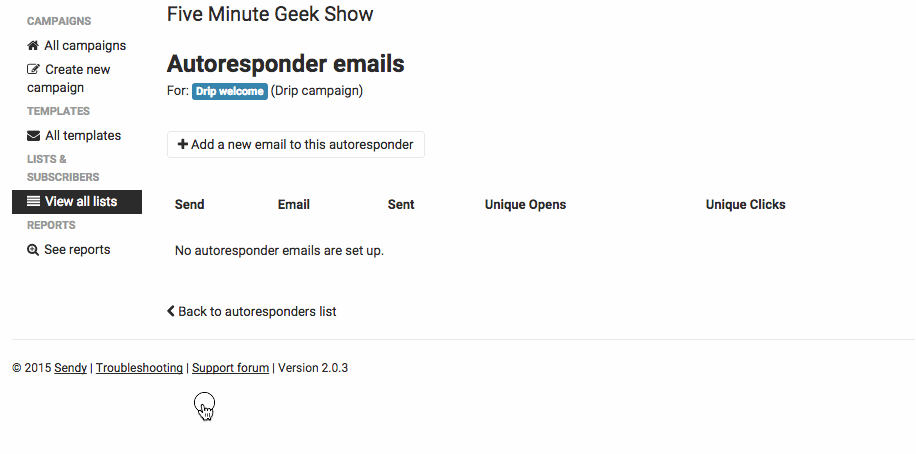
Sendy considers a single "drip campaign" autoresponder as capable of having multiple emails, so you won't be creating a new autoresponder each time, but rather adding multiple emails to the existing autoresponder:
And, scene.
That's it! You now have the power to create unique, custom drip campaigns for your newsletter to help onboard your new newsletter subscribers.


Comments? I'm @mattstauffer on Twitter
Tags: sendy
This is part of a series of posts on Creating Your Own Email Newsletter with Sendy:
-
Jun 2, 2015 | sendy, email, laravel, forge
-
Jun 6, 2015 | sendy