Using Github authentication for login with Laravel Socialite
!Warning: This post is over a year old. I don't always update old posts with new information, so some of this information may be out of date.
Laravel's Socialite package makes it simple to authenticate your users to Facebook, Twitter, Google, LinkedIn, GitHub and Bitbucket. You can authenticate them for the purpose of connecting their pre-existing user account to a third-party service, but you can also use it as your primary login mechanism, which we'll be talking about here.
I'm working on a new little micro-SaaS that is purely dependent on GitHub in order to operate, so there's no reason to set up any user flow other than just GitHub. Let's do it.
Pre-cursor
There's a little bit of knowledge about how OAuth works that'll help to get started. The general flow for an OAuth application that's authenticating the way we will be here is:
- User visits page that requires authentication. Authentication page directs them to login page.
- Login page either immediately directs them to the service (e.g. GitHub) or has a "Login with GitHub" button that directs them to the service.
- User visits a page on the service's web site and carries with them information about the consuming web site (MySocialiteApplication.com, which might have a GitHub Application ID of
12345) and a call back URL (http://mysocialiteapplication.com/auth/github/callback, maybe). - User signs into the service provider (e.g. Github) and GitHub redirects them back to the callback URL, along with a one-time use "token" that identifies them
- The consuming application (
MySocialiteApplication.com) uses the token to request a dump of information about the authenticating user from GitHub. - The consuming application takes that information and does something with it—in this case, marks the user as authenticated and lets them use the site.
OK, so now you understand the basic flow, let's get started with Socialite.
Install Socialite
$ composer require laravel/socialite
To hook Socialite into your Laravel application, edit config/app.php and add the following line to the Service Providers array:
Laravel\Socialite\SocialiteServiceProvider::class,
and add the following line to the Aliases array:
'Socialite' => Laravel\Socialite\Facades\Socialite::class,
Socialite is now hooked into your application and booting. Let's get your credentials set up.
Create GitHub app
For this particular example, we'll be using GitHub as our authentication provider. If you wanted, though, you could use one of the other options, or you could set up multiple authentication options.
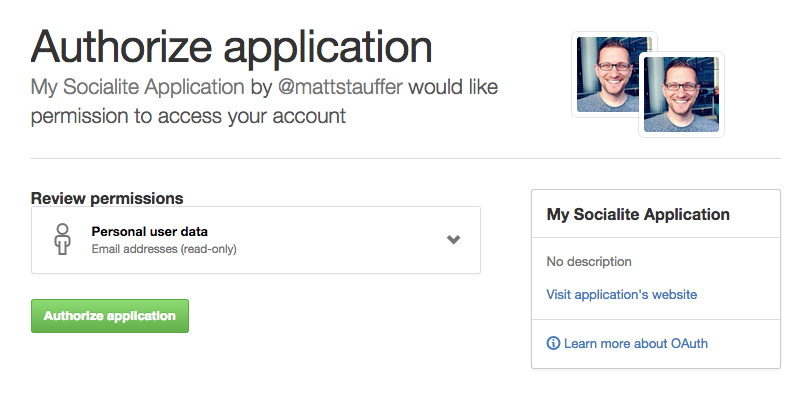
First, let's go to GitHub and set up a new Application. If you're new to OAuth, you'll need to create an account and then an Application with each service provider. The application will ask you questions like "What's the name of your application", "What's the callback URL", etc.
Once you complete it, you'll usually get a client ID and a client Secret, which we need to capture in order to configure Socialite correctly.
So, visit GitHub's New Application page, fill out the form, and grab your client ID and secret.
For now, I'm setting the callback URL to be:
http://mysocialiteapplication.app:8000/auth/github/callback, but you should set it to whatever the GitHub callback URL will be on your development environment.
Note: You can create a separate Application later for the production version of the site that has the production callback URL, or you can just adjust this once you go live--but that'll mean this authentication feature won't work locally anymore.
Services config
Now, let's paste the authentication information in where Socialite can access it. This lives in config/services.php, and as you can see, I've chosen to reference environment variables instead of pasting the values directly in:
'github' => [
    'client_id' => env('GITHUB_ID'),
    'client_secret' => env('GITHUB_SECRET'),
    'redirect' => env('GITHUB_URL'),
],
So, let's add those values to our .env.example and to our .env files:
GITHUB_ID=client id from github
GITHUB_SECRET=client secret from github
GITHUB_URL=http://mysocialiteapplication.app:8000/auth/github/callback
Boom. Socialite can now hit GitHub for you. Let's set up our routes and controller methods.
Routes
Add these routes to routes.php (you can make them anything you want, but this is the convention):
    Route::get('auth/github', 'Auth\AuthController@redirectToProvider');
    Route::get('auth/github/callback', 'Auth\AuthController@handleProviderCallback');
Now let's fill out those controller methods:
Controller methods
In Auth\AuthController:
    /**
     * Redirect the user to the GitHub authentication page.
     *
     * @return Response
     */
    public function redirectToProvider()
    {
        return Socialite::driver('github')->redirect();
    }

    /**
     * Obtain the user information from GitHub.
     *
     * @return Response
     */
    public function handleProviderCallback()
    {
        try {
            $user = Socialite::driver('github')->user();
        } catch (Exception $e) {
            return Redirect::to('auth/github');
        }

        $authUser = $this->findOrCreateUser($user);

        Auth::login($authUser, true);

        return Redirect::to('home');
    }

    /**
     * Return user if exists; create and return if doesn't
     *
     * @param $githubUser
     * @return User
     */
    private function findOrCreateUser($githubUser)
    {
        if ($authUser = User::where('github_id', $githubUser->id)->first()) {
            return $authUser;
        }

        return User::create([
            'name' => $githubUser->name,
            'email' => $githubUser->email,
            'github_id' => $githubUser->id,
            'avatar' => $githubUser->avatar
        ]);
    }
You can structure this code any way you want; many folks will create an authentication service and inject it in. Handle it however you want, but the above is what it should be doing in general.
First we redirect to GitHub; when the redirect comes back, we grab the relevant information, and then we either look up the user and authenticate as that user, or we create a new user and authenticate.
Database
We need to update our users migration so that it will allow us to store some GitHub-specific information. There's more information that comes back from GitHub, but here's what I chose to store. Since this is a new app, I could just modify the users migration, but if you have an existing app, you'll need to make a new migration.
            $table->increments('id');

            // Cached from GitHub
            $table->string('github_id')->unique();
            $table->string('name');
            $table->string('email');
            $table->string('avatar');

            $table->rememberToken();
            $table->timestamps();
User Eloquent
Finally, let's update the Eloquent User model so we can fill the new GitHub fields:
    /**
     * The attributes that are mass assignable.
     *
     * @var array
     */
    protected $fillable = ['name', 'email', 'github_id', 'avatar'];
That's it. Let's see how this works now.
Using it
Set up a button on some page on your site that directs to auth/github.

The user will be sent to GitHub, asked to give permissions to your app, and upon approval, sent back to auth/github/callback.
Then your callback code will run and will either log in the pre-existing user or create a new user and log in as that.
Then the user should be forwarded to home, and you now have a Laravel-authenticated user, with a Laravel user session and all of the functionality of the Auth façade and driver available to you.
You can go build a logout route that runs Auth::logout or whatever else you like; at this point, you're up and running using Socialite for GitHub authentication! Enjoy!
PostScript: Adam Wathan's Eloquent OAuth L5
Quick note: if you plan to use the social services for login only, and you want to hook it into Laravel's user and authentication systems as your primary use (like we did here), there's a package for that: Adam Wathan's Eloquent OAuth L5. It takes what we did here and makes it a lot simpler. Watch this video to learn how it works.
This is the sample code for using his code:
// Redirect to Facebook for authorization
Route::get('facebook/authorize', function() {
    return OAuth::authorize('facebook');
});

// Facebook redirects here after authorization
Route::get('facebook/login', function() {

    // Automatically log in existing users
    // or create a new user if necessary.
    OAuth::login('facebook');

    // Current user is now available via Auth facade
    $user = Auth::user();

    return Redirect::intended();
});
As you can see, some of the work we had to do in our controller code has been abstracted away.
If you're using social services on top of other authentication systems, though, or if you're using it for functional components like pulling information from Github, or if it's not hooking into Eloquent users, you'll want to stick with Socialite.
Whichever tool you use, just know that it's very, very simple to set up social logins and authentication with your Laravel applications.


Comments? I'm @mattstauffer on Twitter
Tags: laravel • socialite • github • oauth