Introducing Envoyer.io
!Warning: This post is over a year old. I don't always update old posts with new information, so some of this information may be out of date.
Envoyer is a new product from Taylor Otwell of Laravel. Check out his intro videos at Laracasts, and interview at Laravel News.
A little bit of history
When Taylor Otwell first released Laravel Forge, the work it took to spin up and manage multiple cloud VPSes and deploy sites to them was a big reason shared hosting had such a huge foothold. Forge took the process of creating a cloud VPS server, managing its environment, and deploying (and auto-Git-hook-deploying) sites to it and made it accessible and affordable.
But more complicated deploy needs--for example, managing complicated deploy scripts, or zero-downtime deploys--weren’t met by Forge. Whether or not you were a Forge user, you’d need to rely on a deploy system like Capistrano or Chef or Ansible to benefit from this level of power and flexibility, and the learning curve for these systems can be prohibitively high.
Introducing Envoyer
Today, Envoyer is launching to address those needs. Envoyer is a zero-down-time deployer for PHP & Laravel projects, which means it is a tool that you connect to your server to run your deploys, and which uses a series of tools to ensure that all of the preparation work each deploy needs in order to run--for example, composer install--happens in the background while the previous version of the site is still online.
How does Zero-Down-Time Deploy work?
If you’ve ever worked with Capistrano, you’re already familiar with this. Note that this is a technical answer; if you don’t care how it works, just skip to Your First Project With Envoyer.
A deploy on a traditional system (e.g. Forge) means that there’s a single folder where your content lives. Let’s say you have two files, index.php and the app folder. You’d normally place them in the web root:
/webroot/index.php
/webroot/app
So, your deploy system would cd into that directory, pull down your latest code (git pull), and then run your deploy script, which likely includes composer install. That means that your site is likely non-functional for a few seconds at least.
A zero-down-time deploy system maintains a system of releases folders, each of which represents a single commit in your git history. Every time the deploy system gets triggered for a build, it creates a new folder in releases and clones the repo just at that commit into that folder. Then it runs your full deploy script in there. Only then, once it has a fully functional version of the site ready to go, it changes the *current folder to be a symlink to the latest folder under releases*. That’s it! The public folder at any time is just a symlink to one of several available folders in releases.
And Envoyer manages all of that for you. You end up with this:
/webroot/current
/webroot/releases
/webroot/releases/20150316074832
/webroot/releases/20150315041251
Note that any folders that need to persist across releases--for example, the storage folder in Laravel apps--need to exist at the webroot level, and need to be symlinked into each release. If you use Laravel, this is already managed for you.
Your First Project With Envoyer
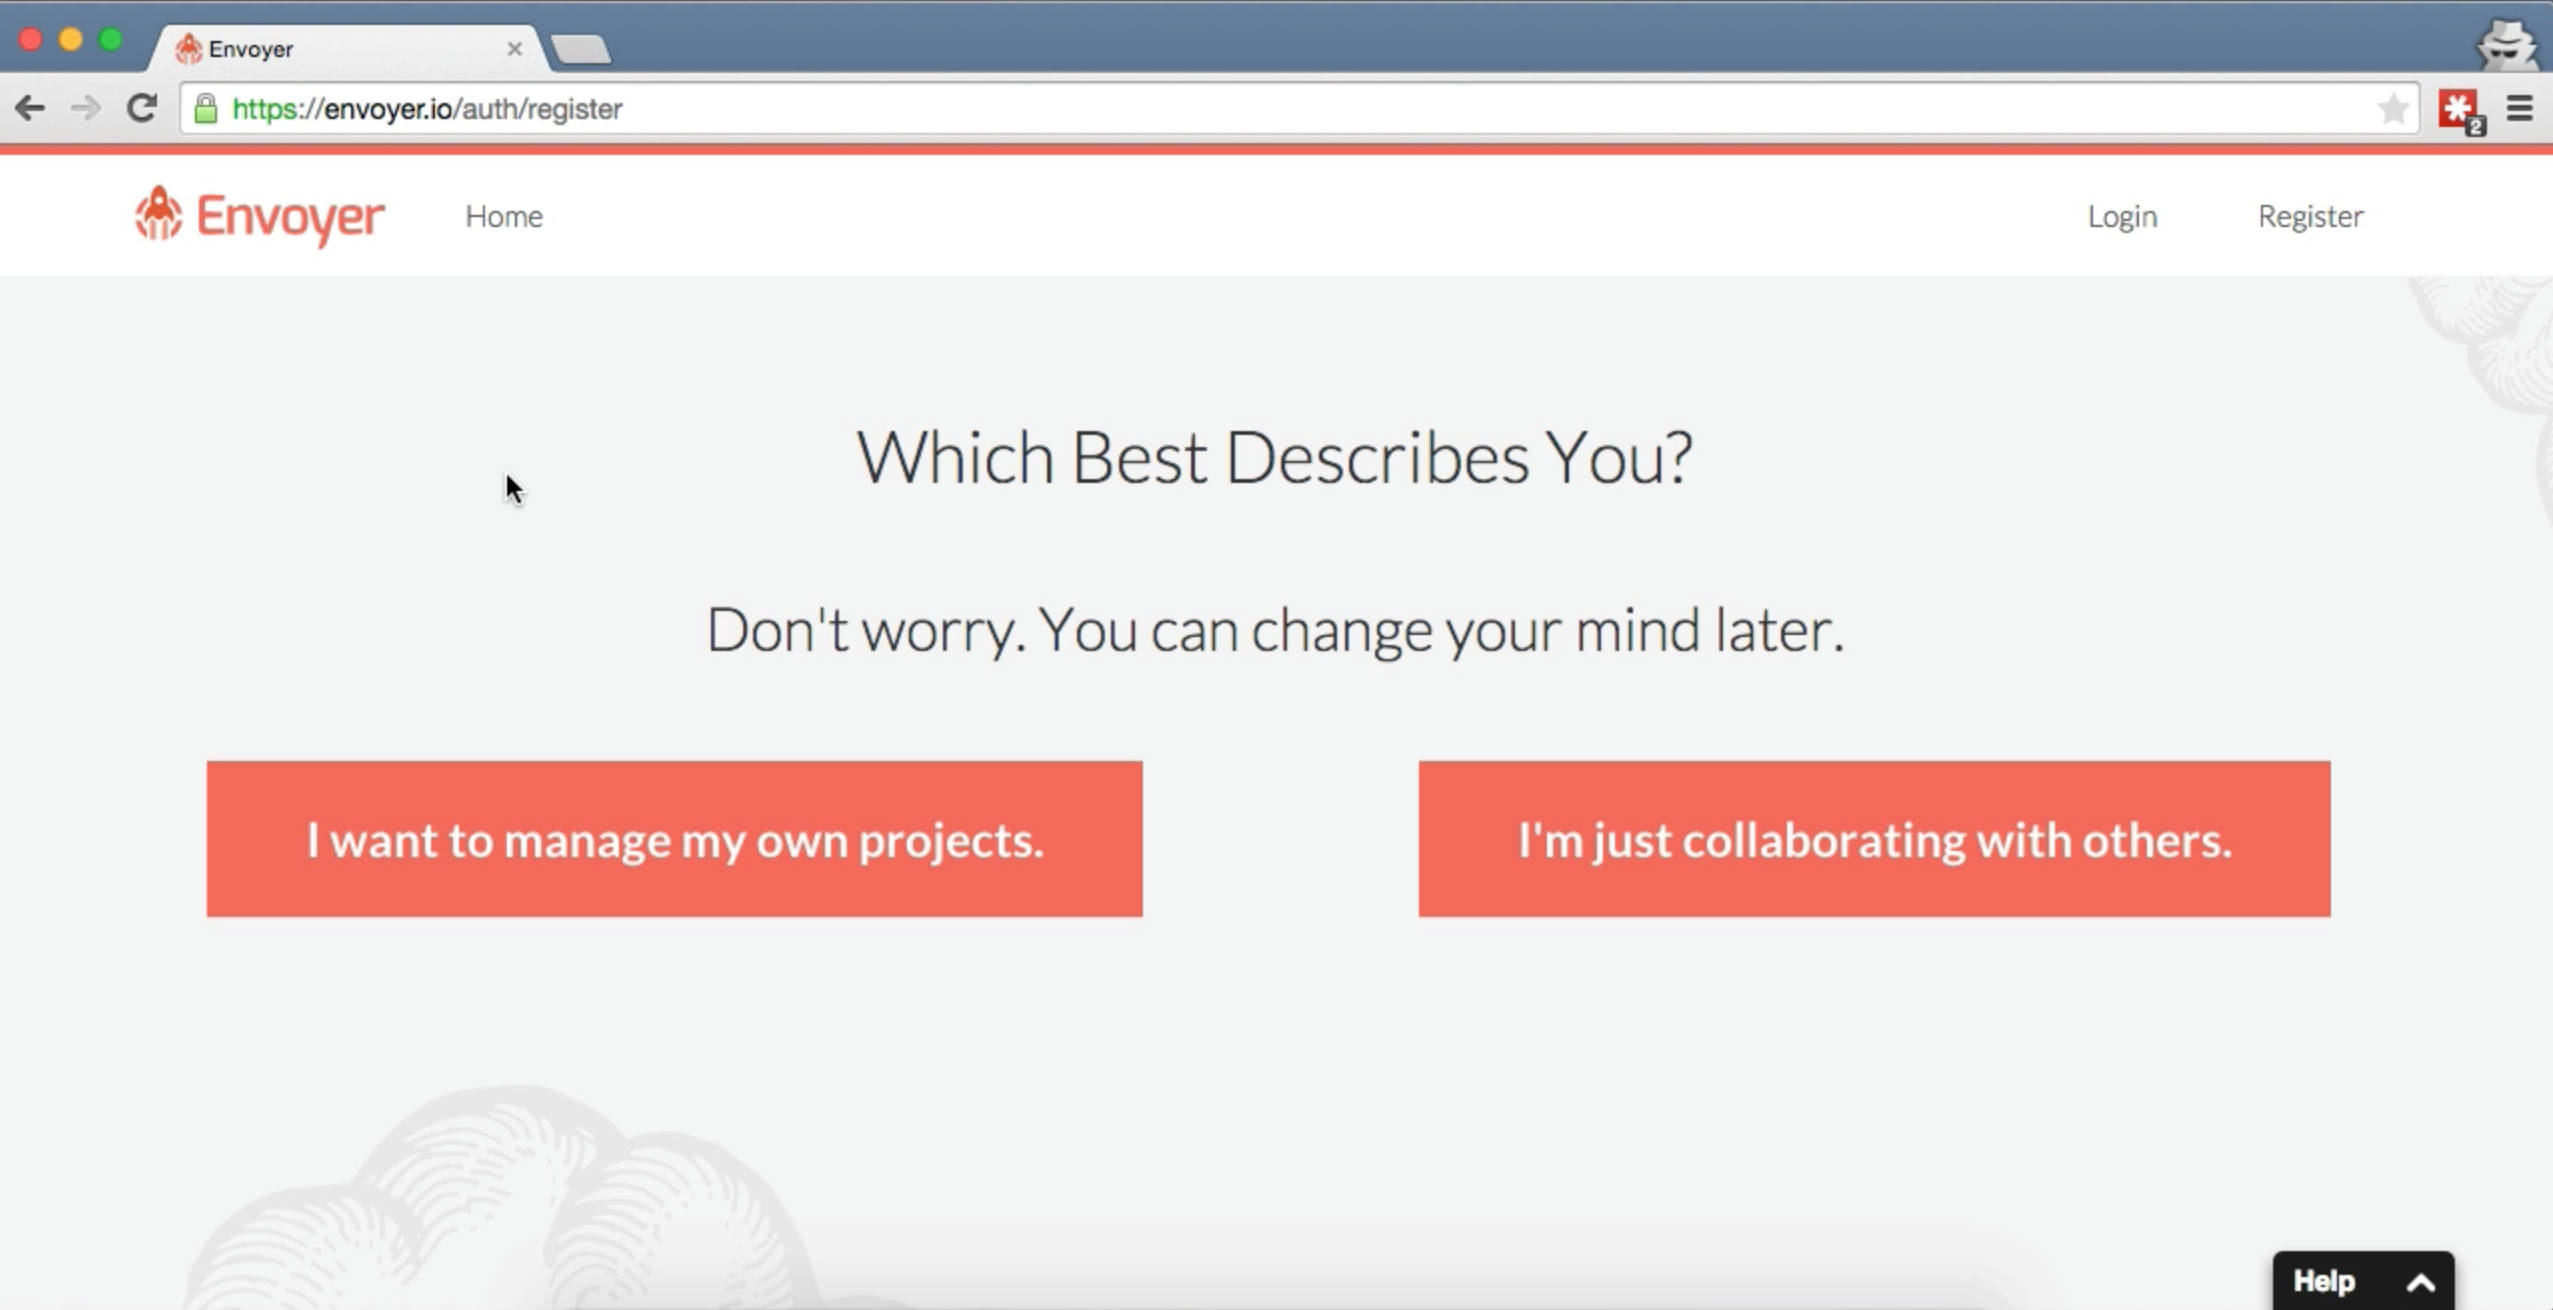
OK, so let's get started with your first Envoyer project. Go over to Envoyer.io. Sign up. Choose “I want to manage my own projects.”
Here’s your dashboard:
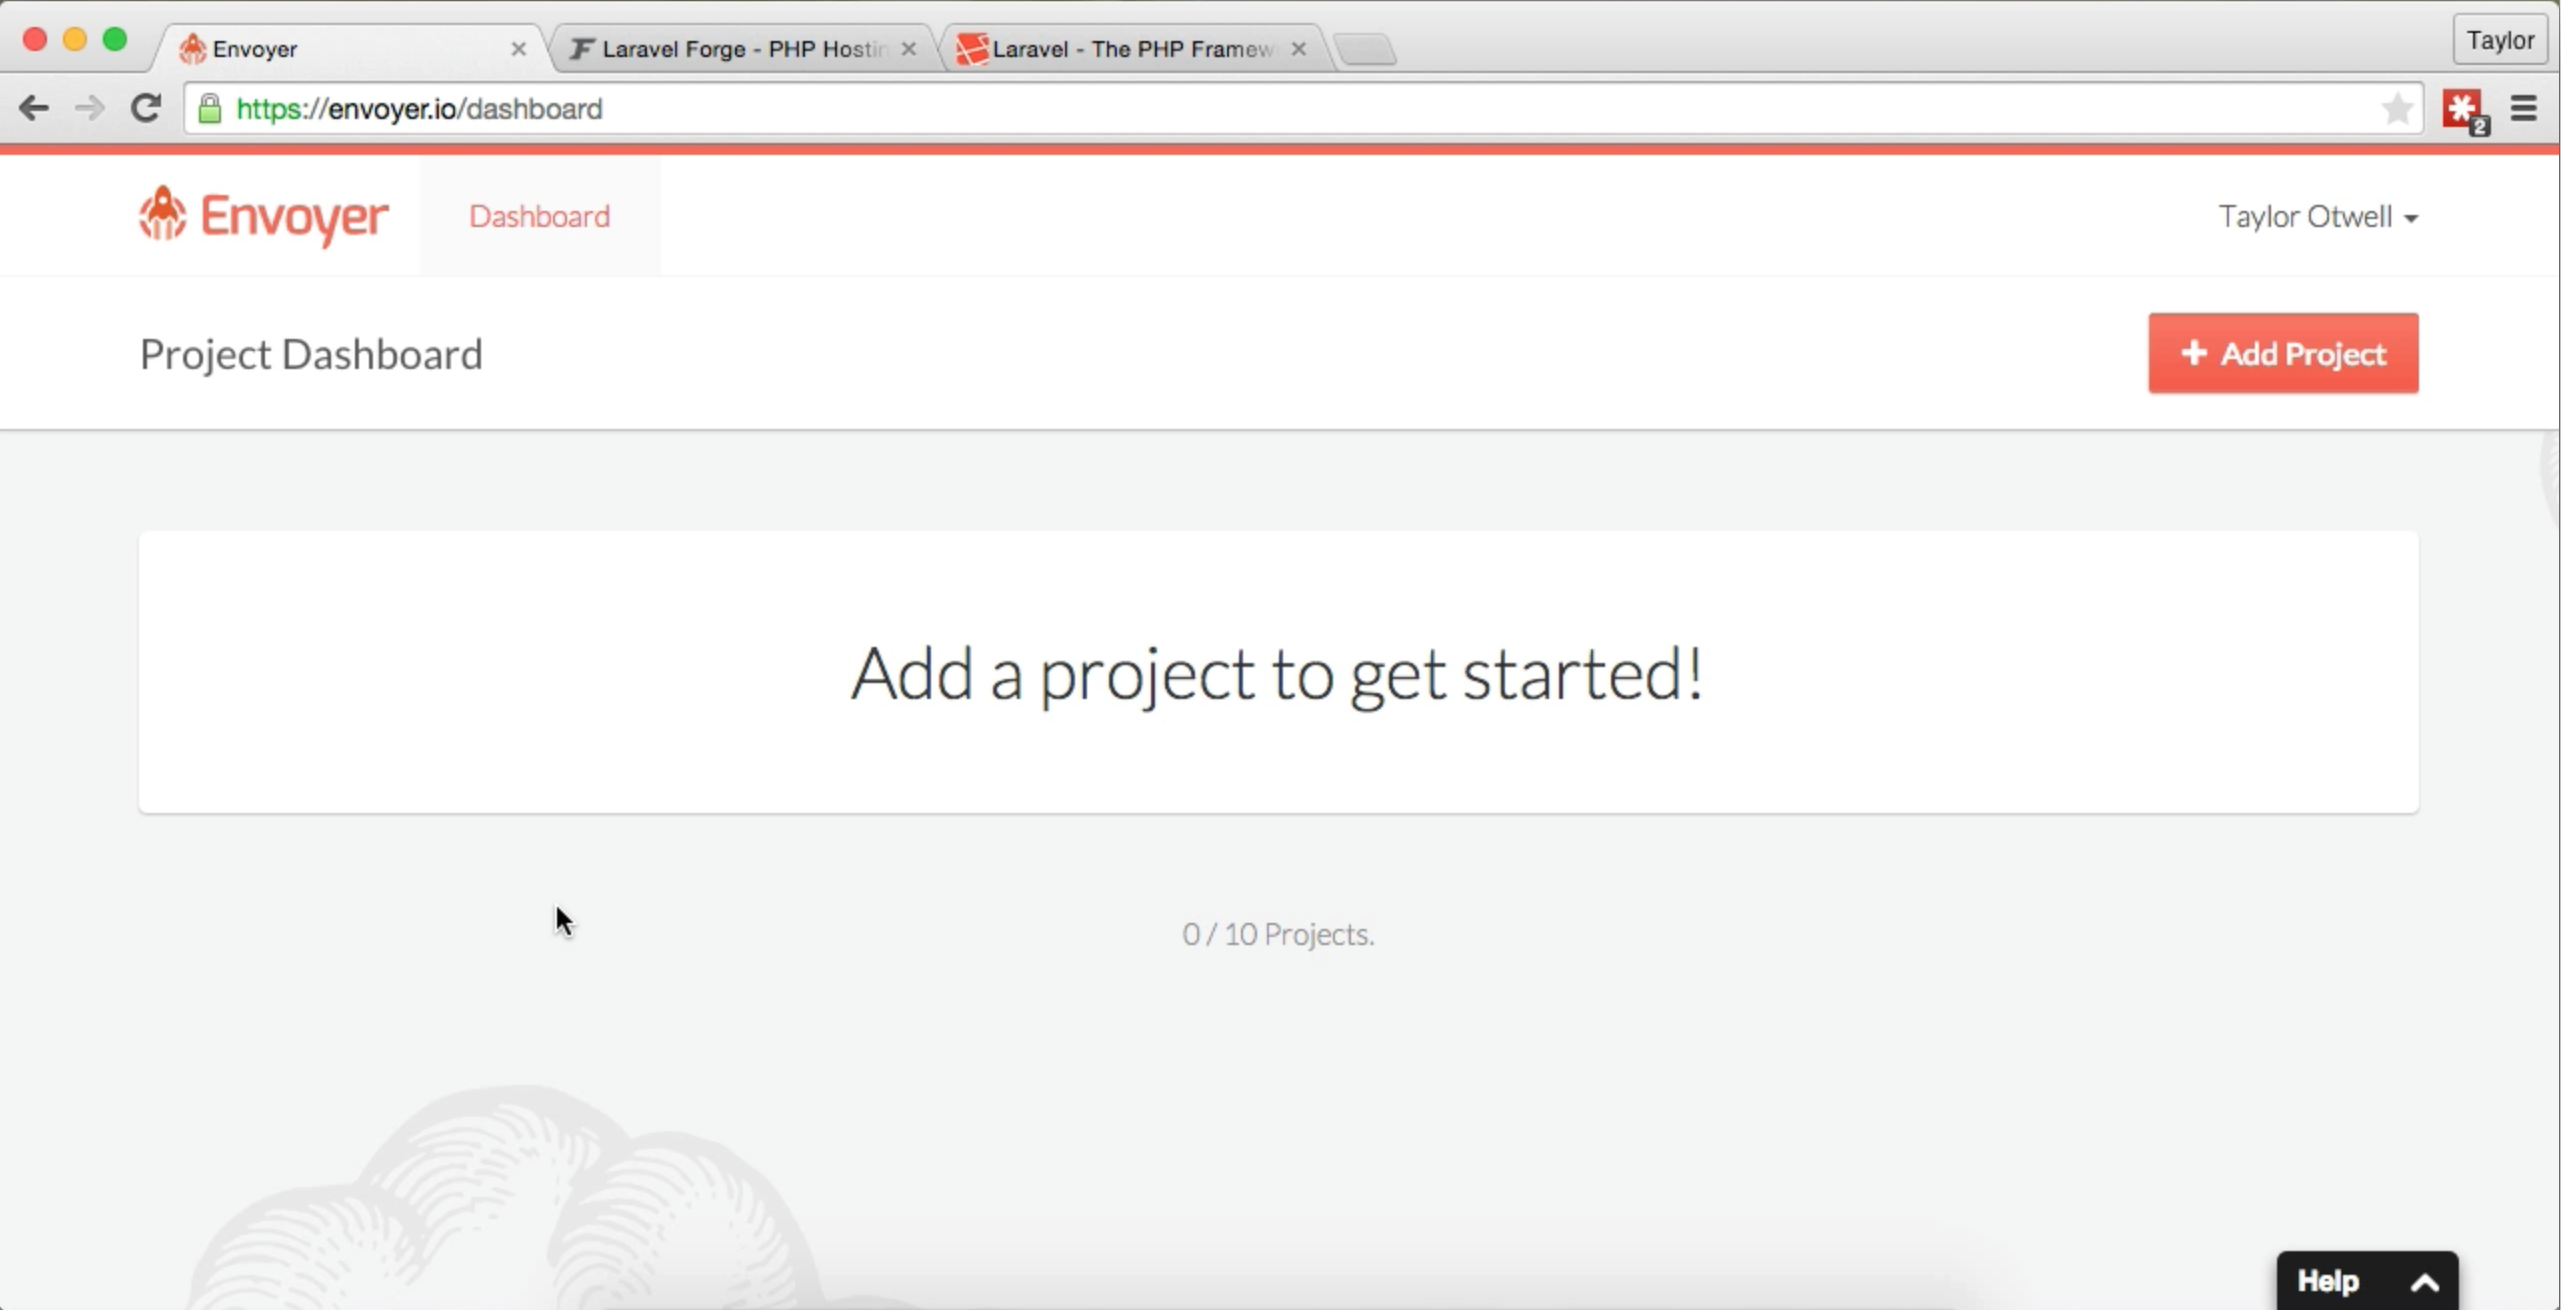
Add your first project
Your first step is to add your project. Click the big Add Project button at the top right.
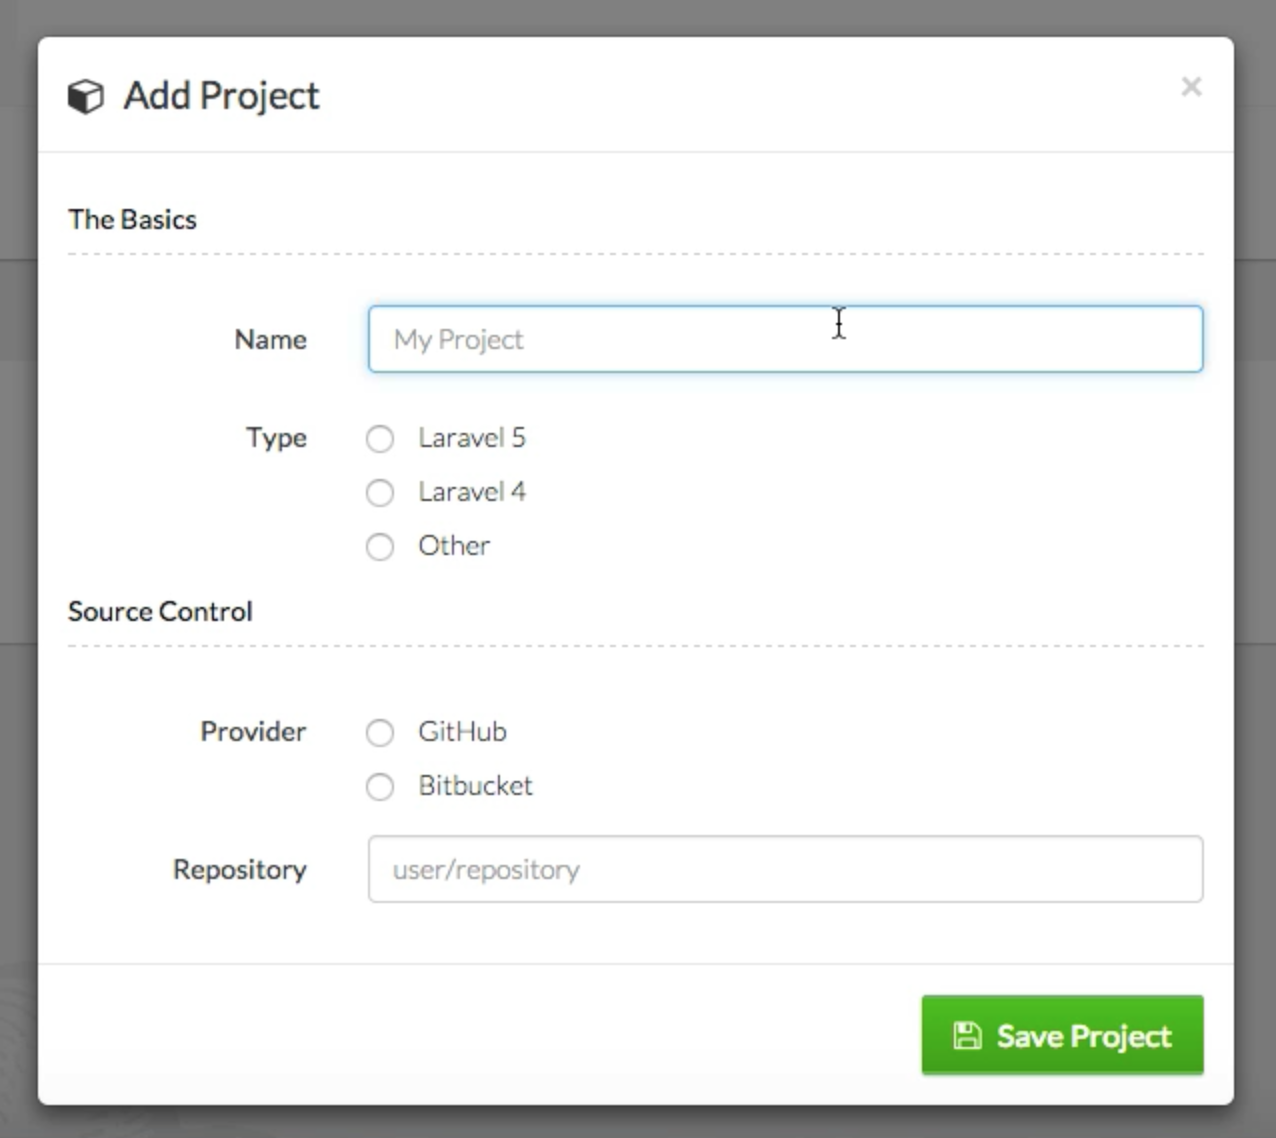
You’ll be prompted to choose which type of project it is, who your Git provider is, and which particular project it is.
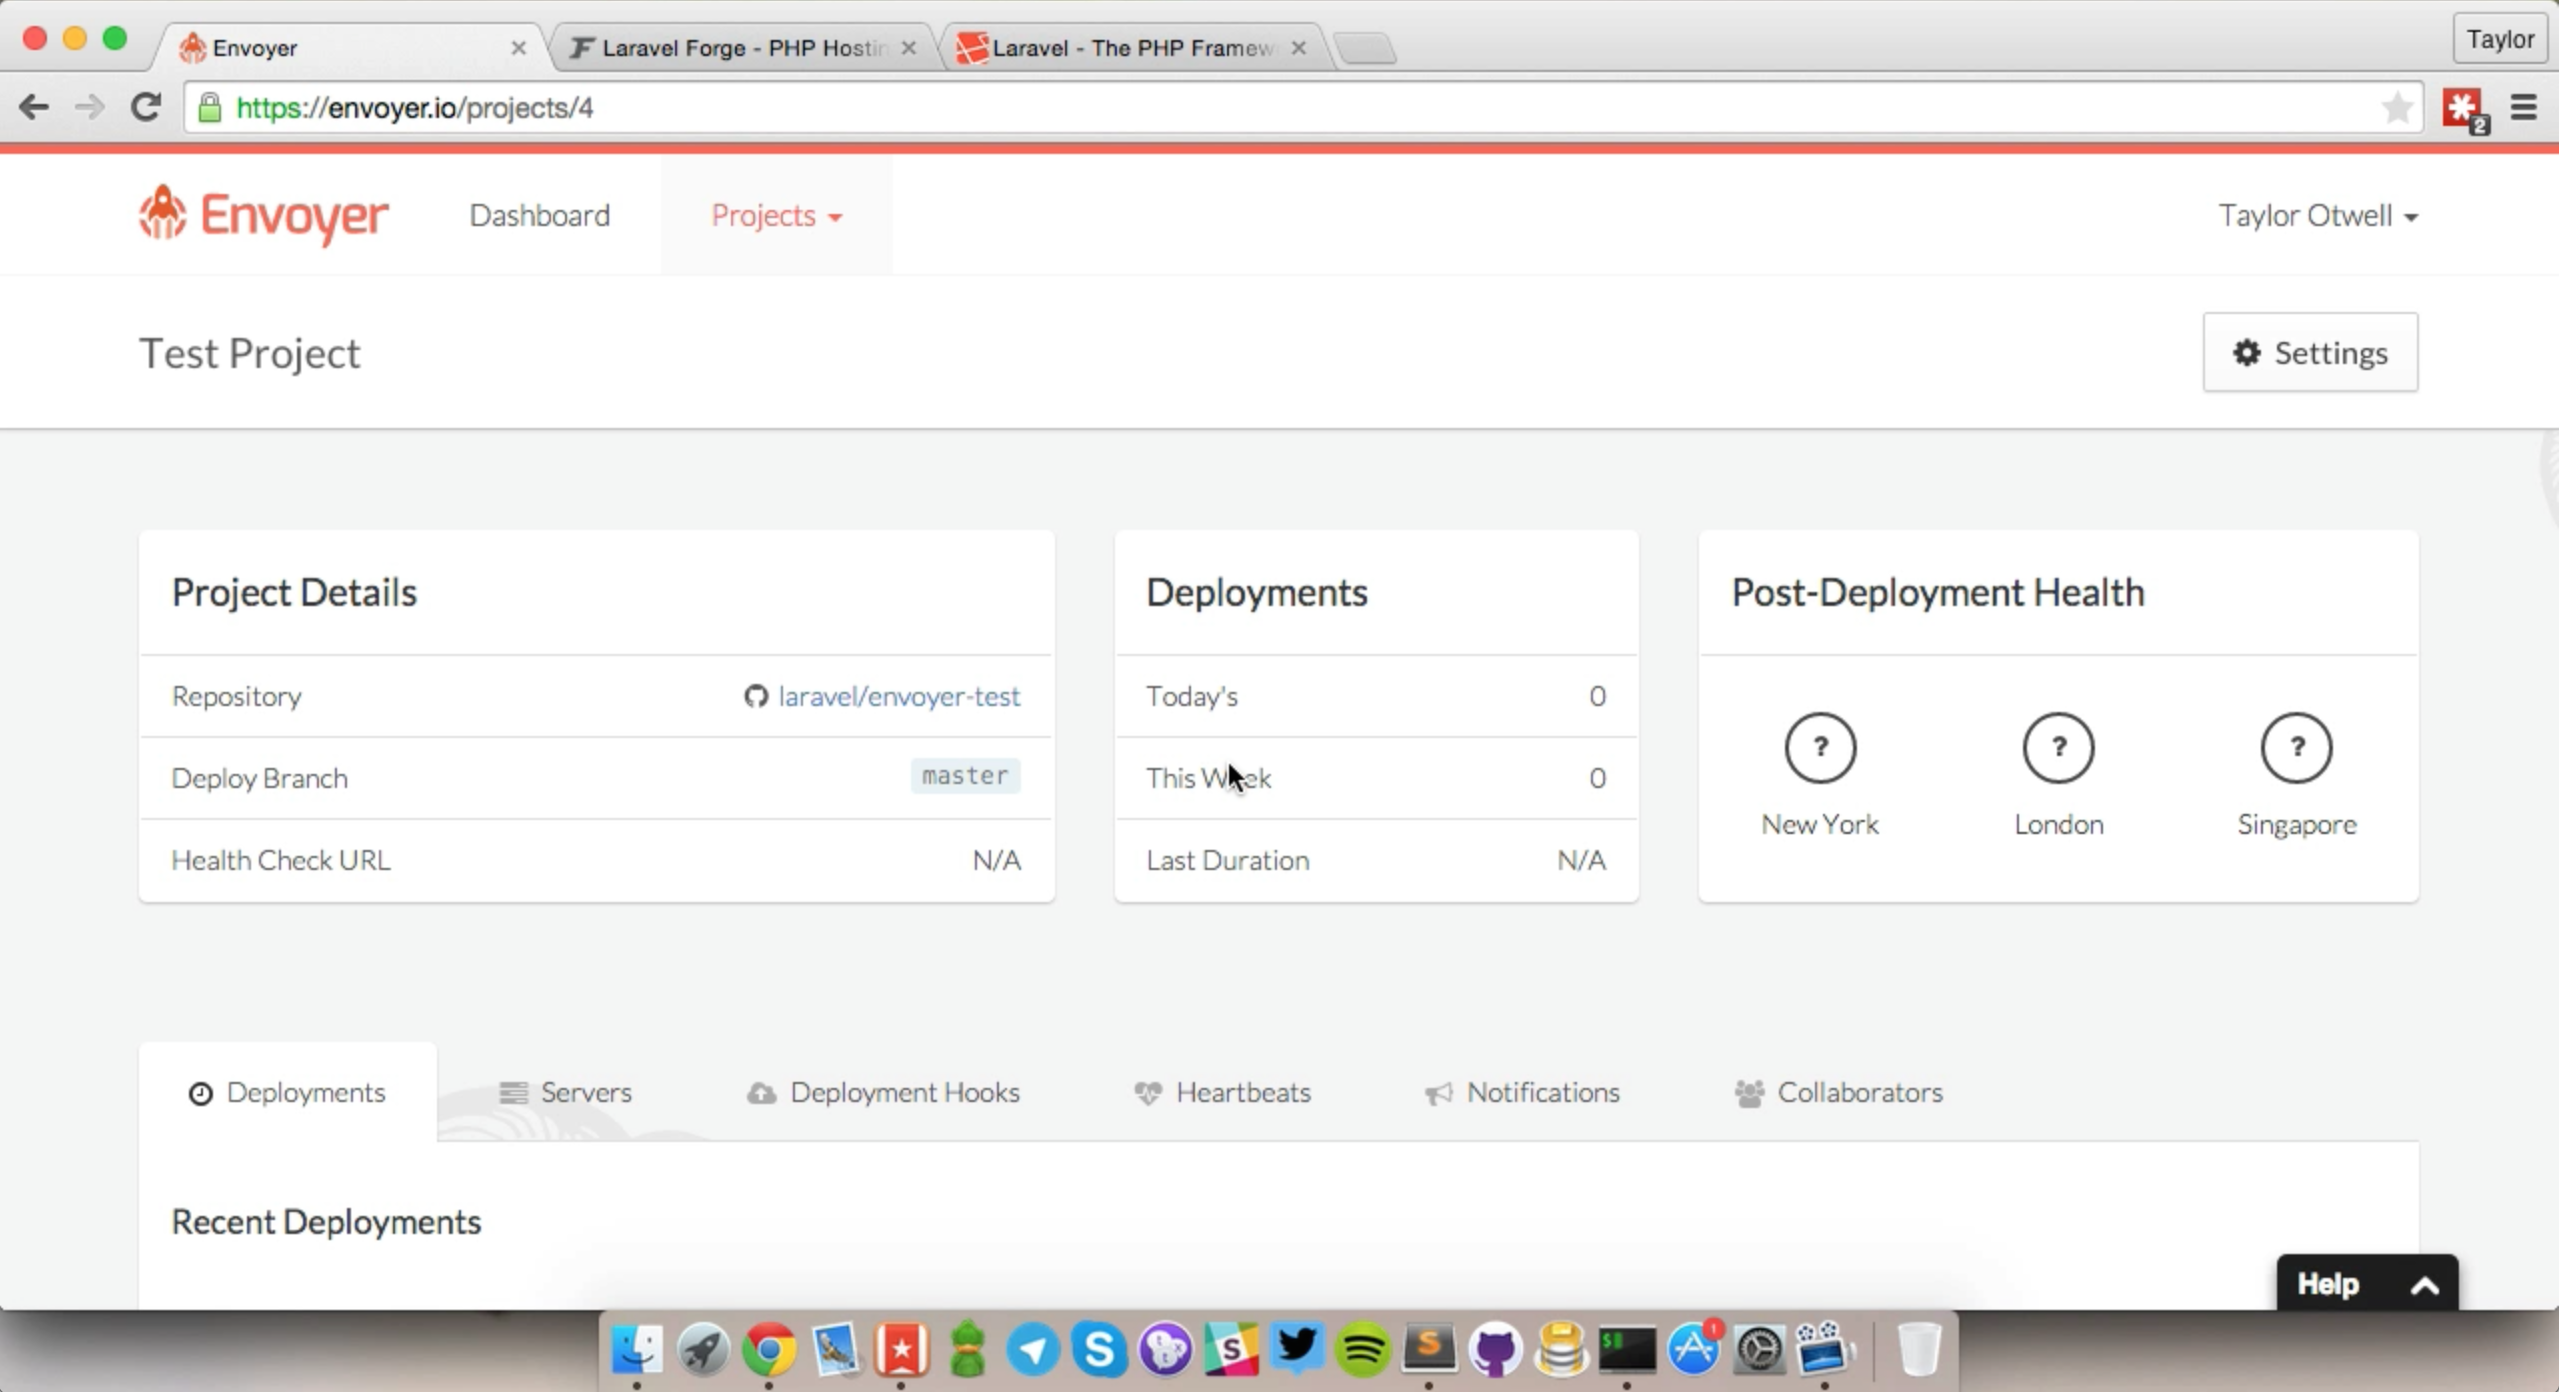
View your project dashboard
Once you start your first project, you can click into the project’s dashboard.
Add your first server
Click the Servers tab on this dashboard and add a new server.
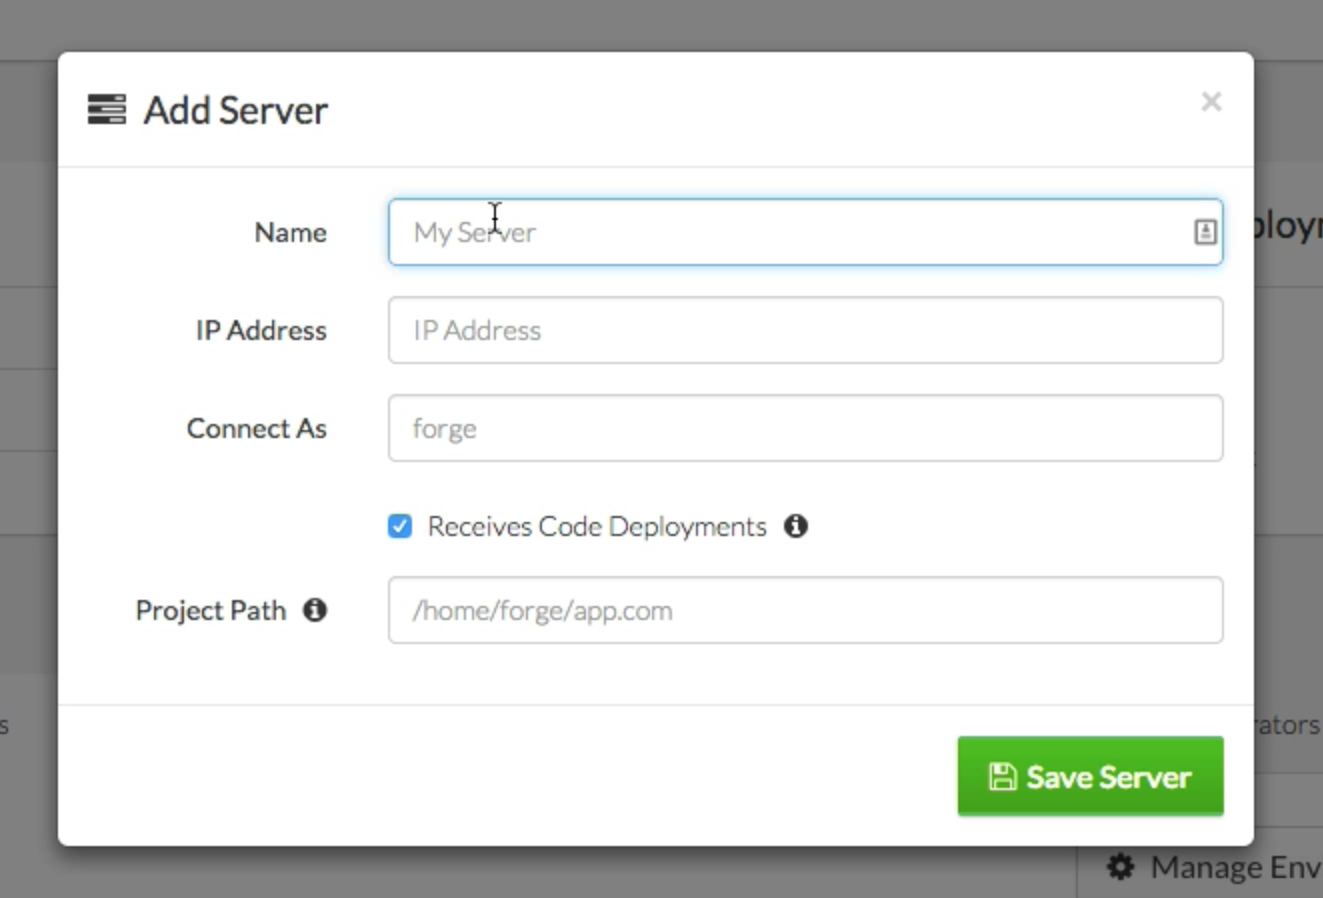
In order to add a new server, you’ll need to know its IP address, which Unix/SSH user you’re going to be connecting as, and what your project path is (likely something like /home/username/website.com or /var/www/website.com).
Once you add the server, Envoyer will give you an SSH key to add to that server so that Forge can authenticate.
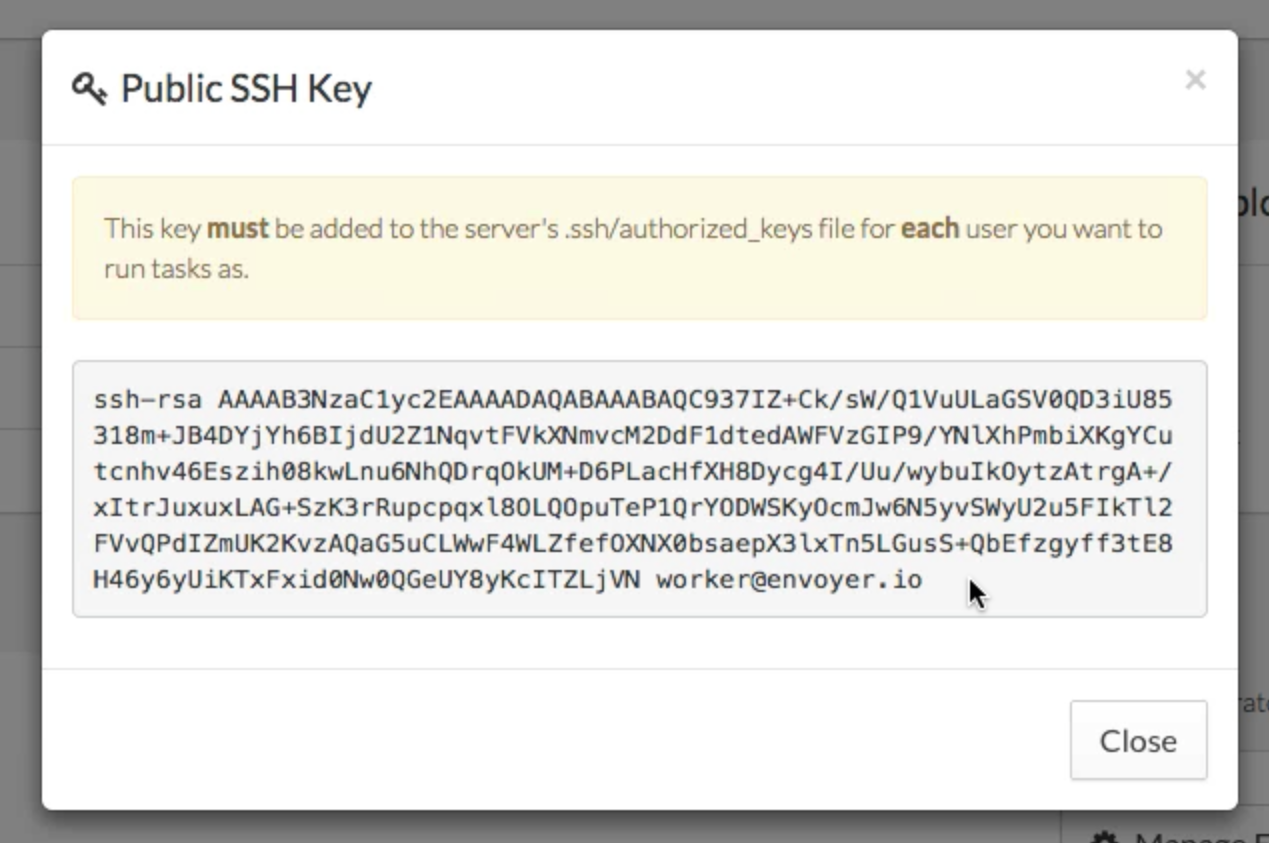
Copy that key and add it to ~/.ssh/authorized_keys on your server, or if you’re using Forge, add it to the SSH Keys tab for that server.
Now, go back to Envoyer and check your connection status by clicking the refresh icon next to your server in the Connection Status column.
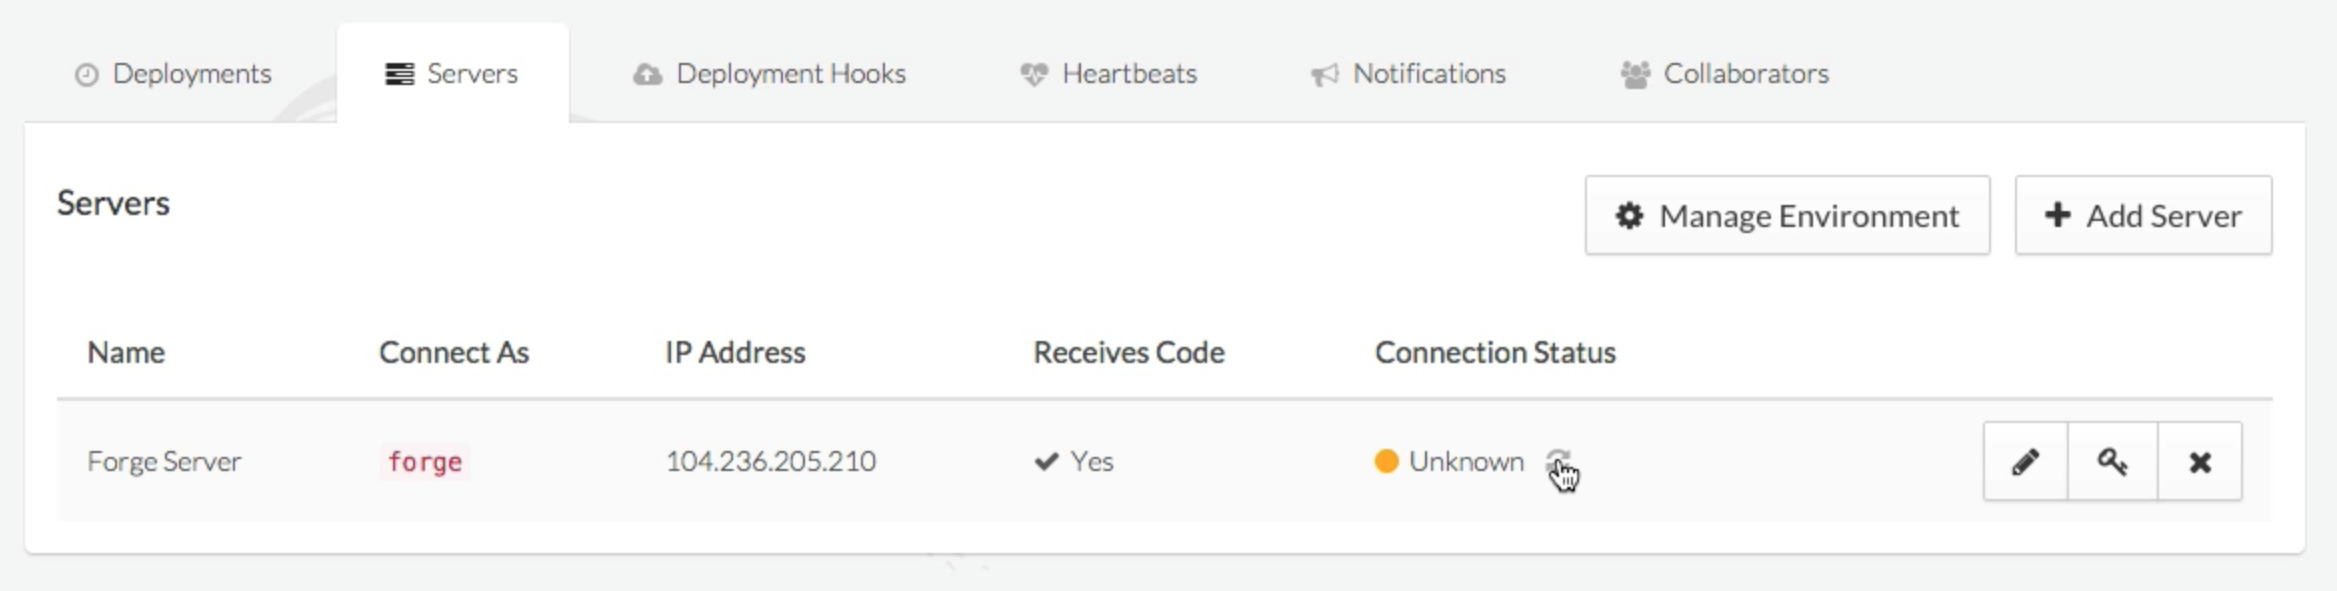
If everything works, the icon will turn green and show the word “Successful.”
Prepend current/ to your server’s served/public directory for this site
Now, whatever your web root was previously for your web site (in your Nginx/Apache config), you need to prepend current/ to it. If you’re a Forge & Laravel user, you’re used to setting the Web Directory in Forge to public. Now, that’ll be current/public.

Trigger a deploy
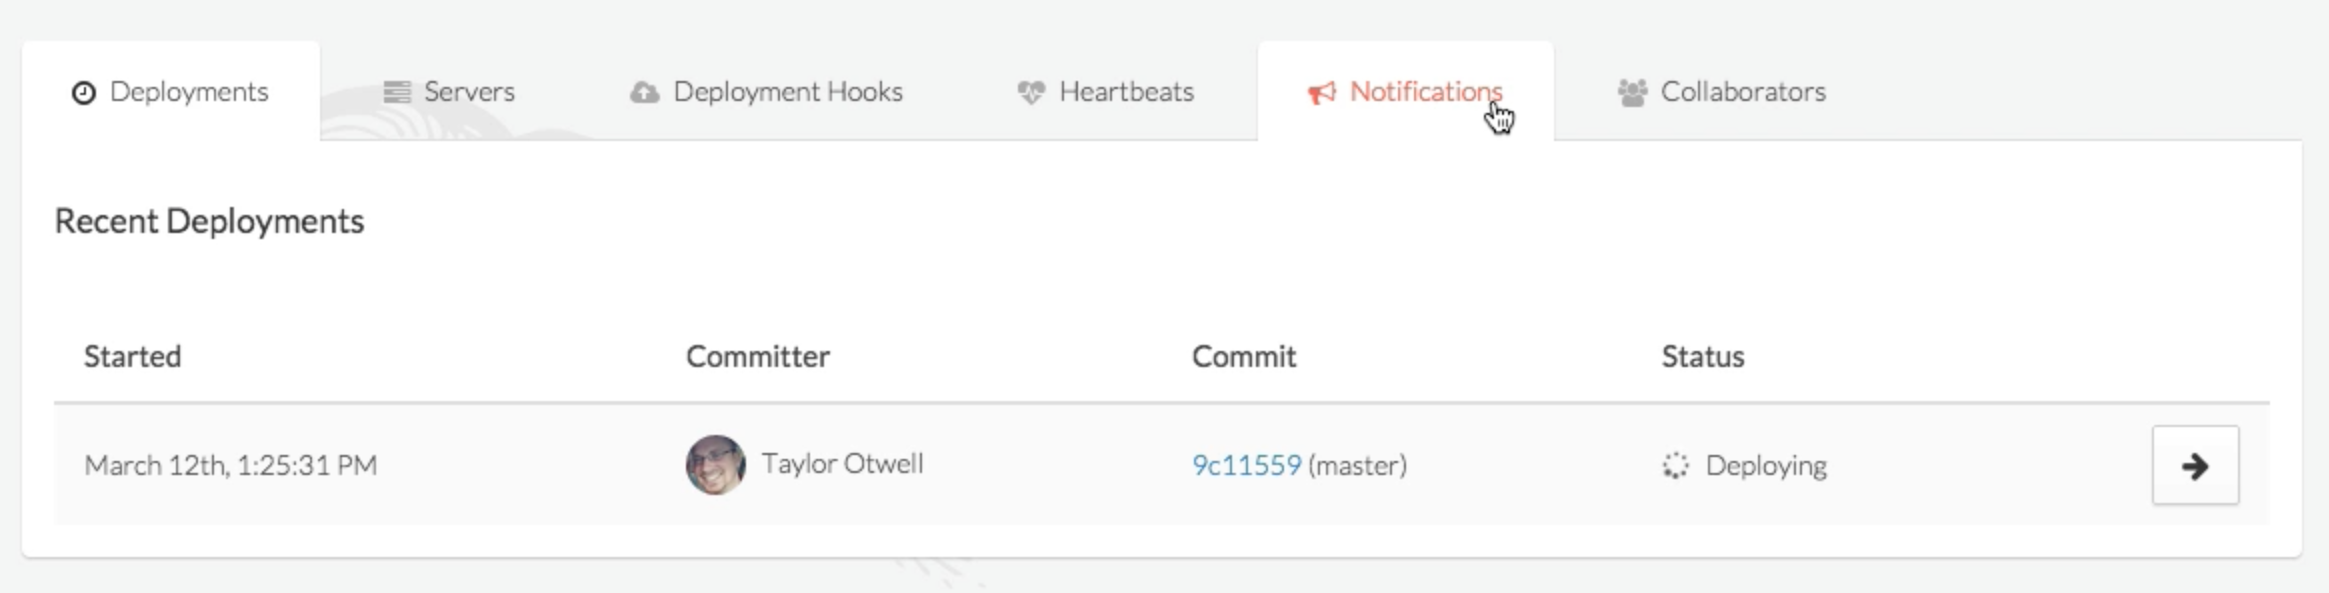
Go back to your project dashboard and click the red Deploy button to trigger a new deploy. Go to the deployments tab and watch the deploy pop up.
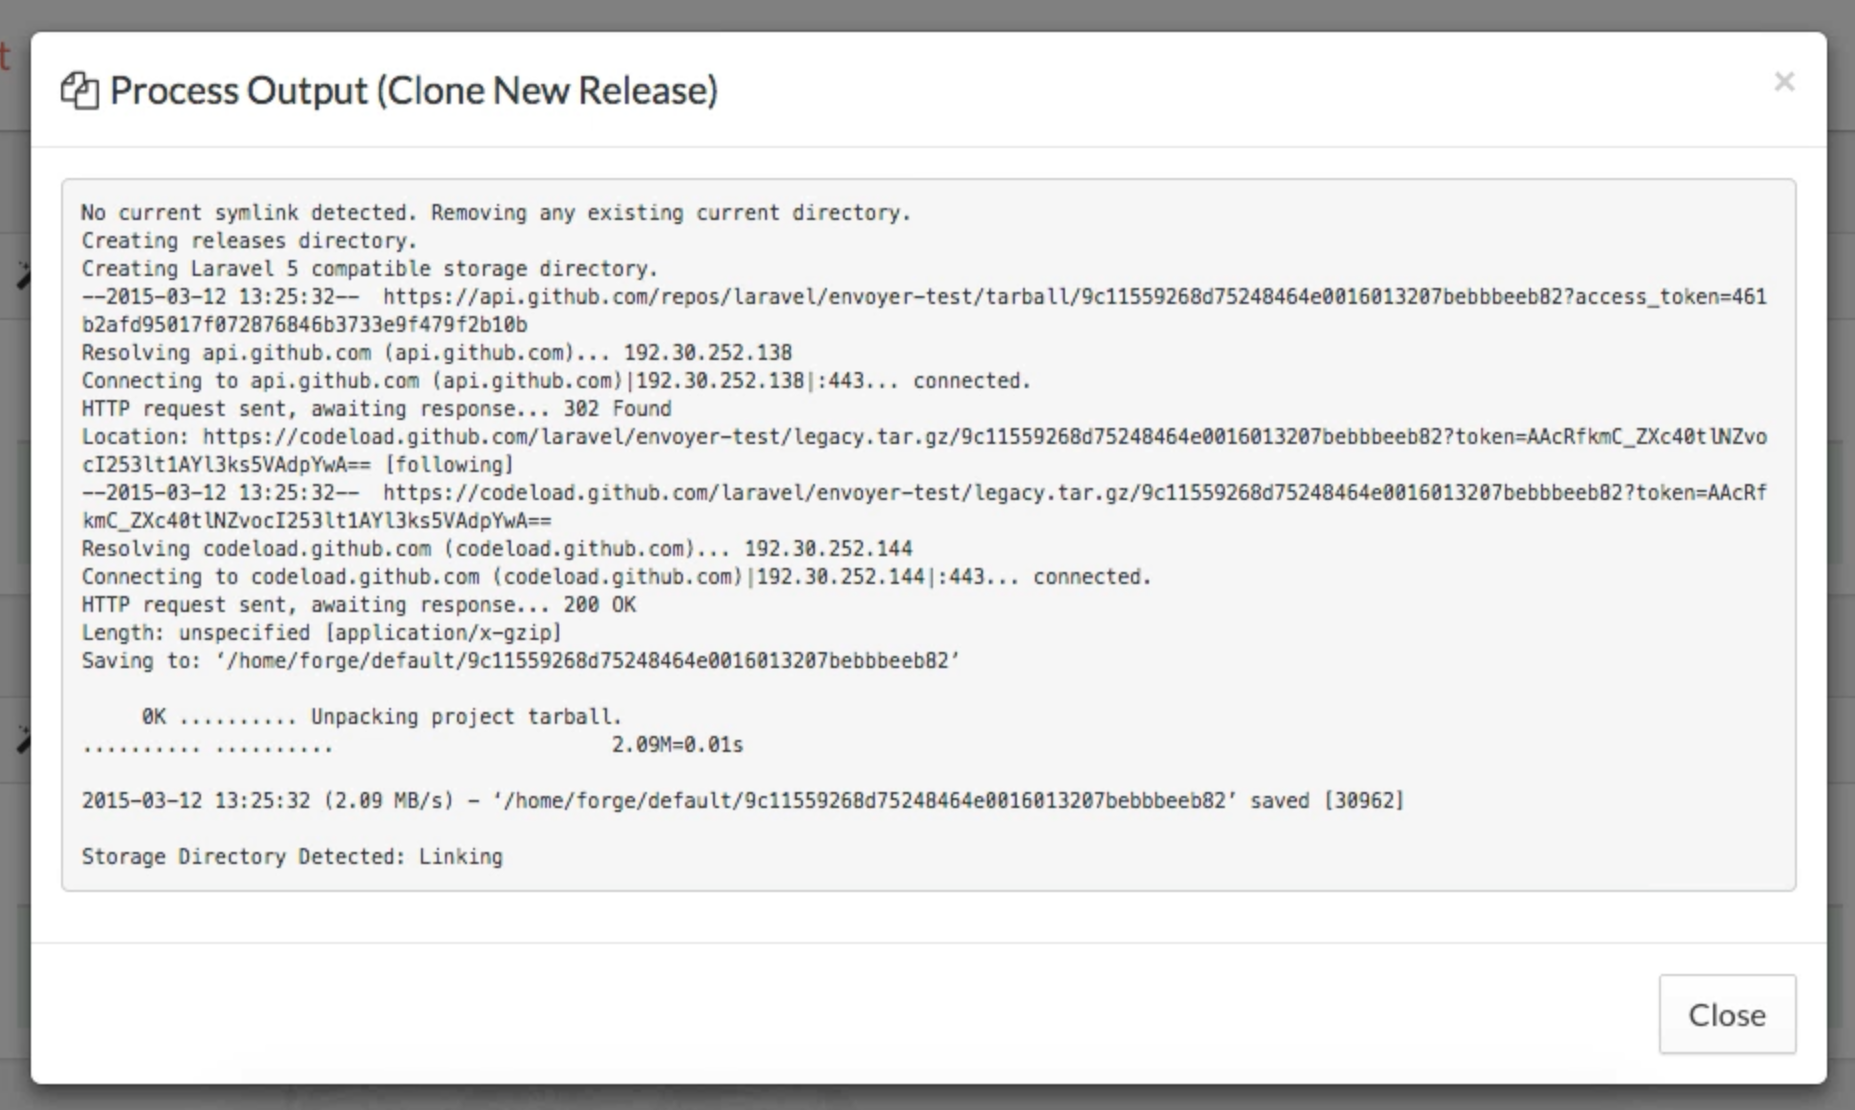
Click on the arrow button on the deployment and you’ll be able to see each of the steps of your deploy script (at this point, it’s the default deploy script for whichever project type you selected):

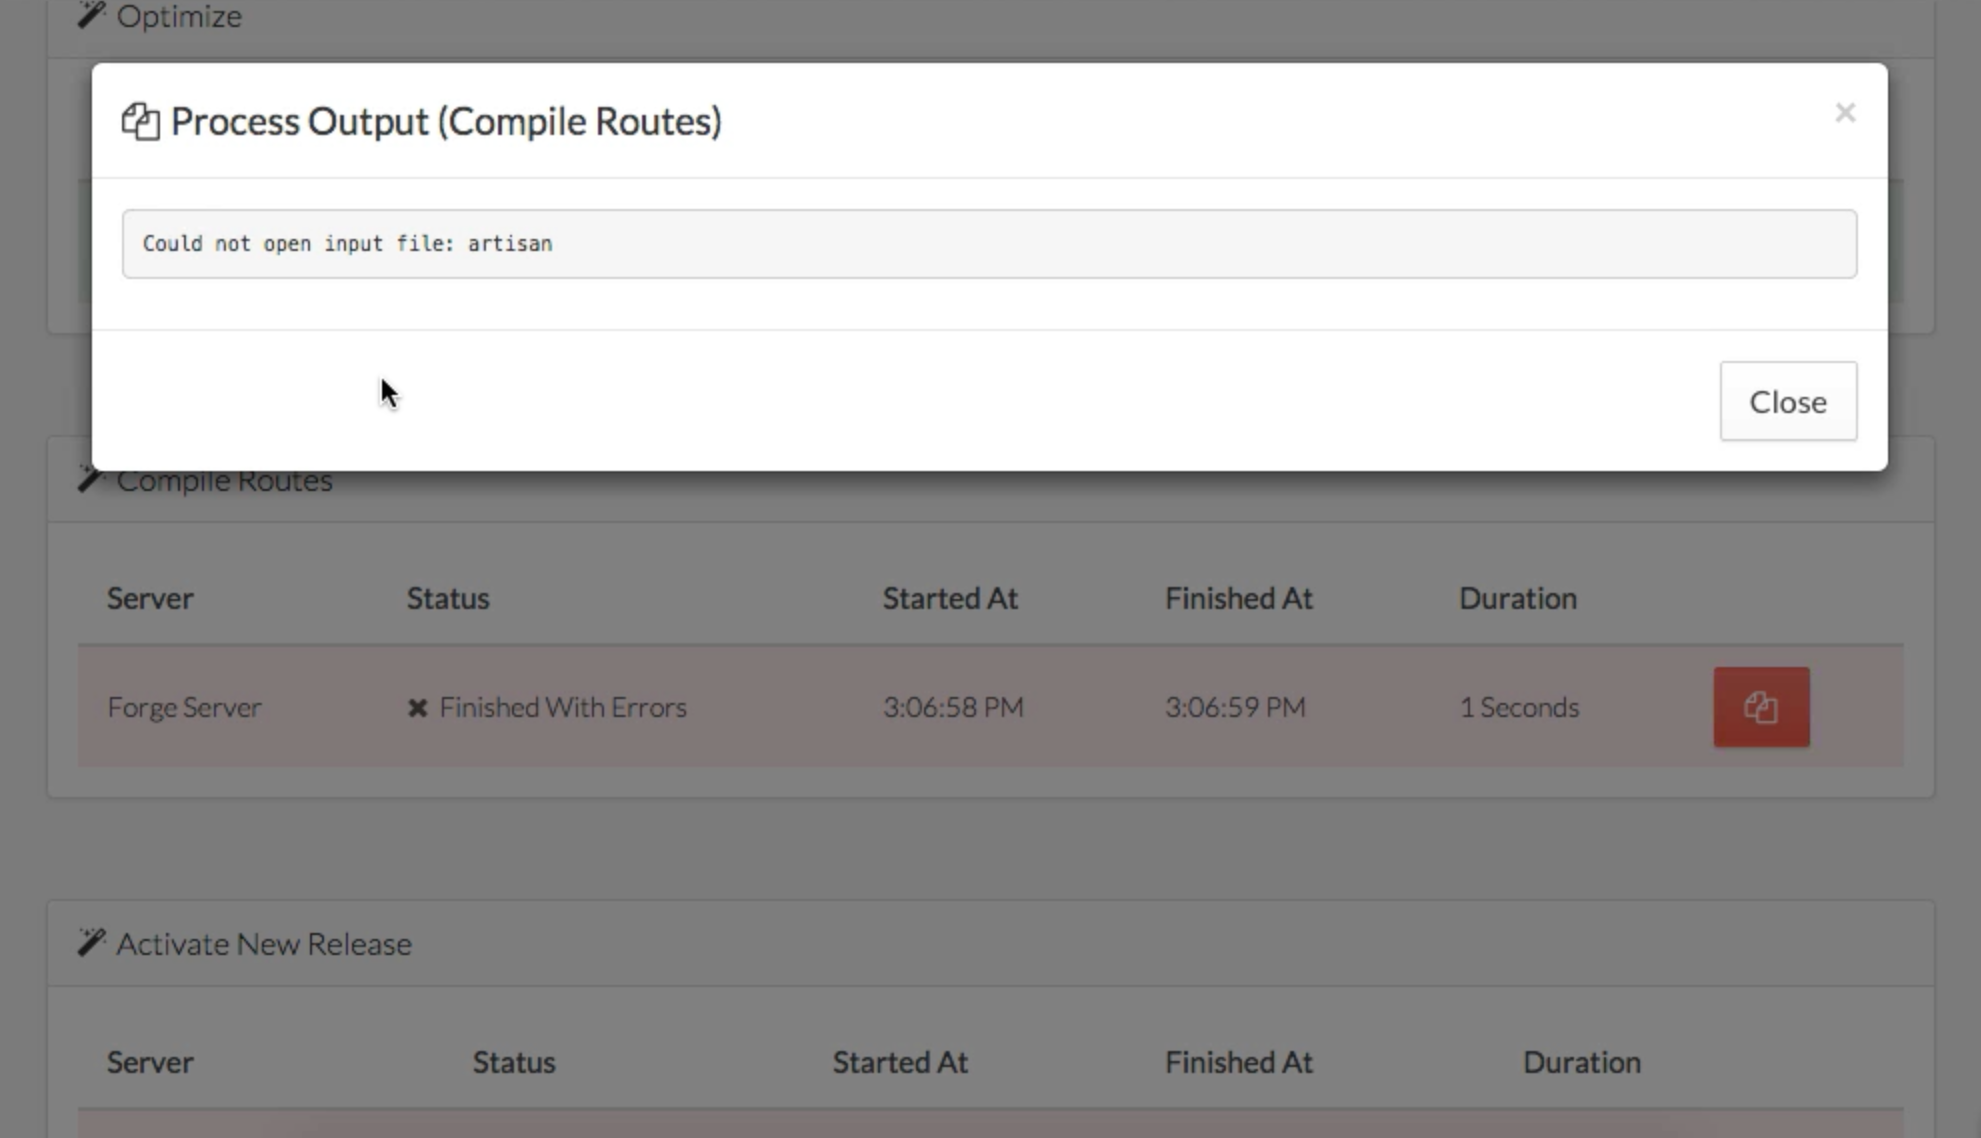
Note that you can also drill down and view the specific terminal output once any of the steps of the deploy script is done:
And Done!
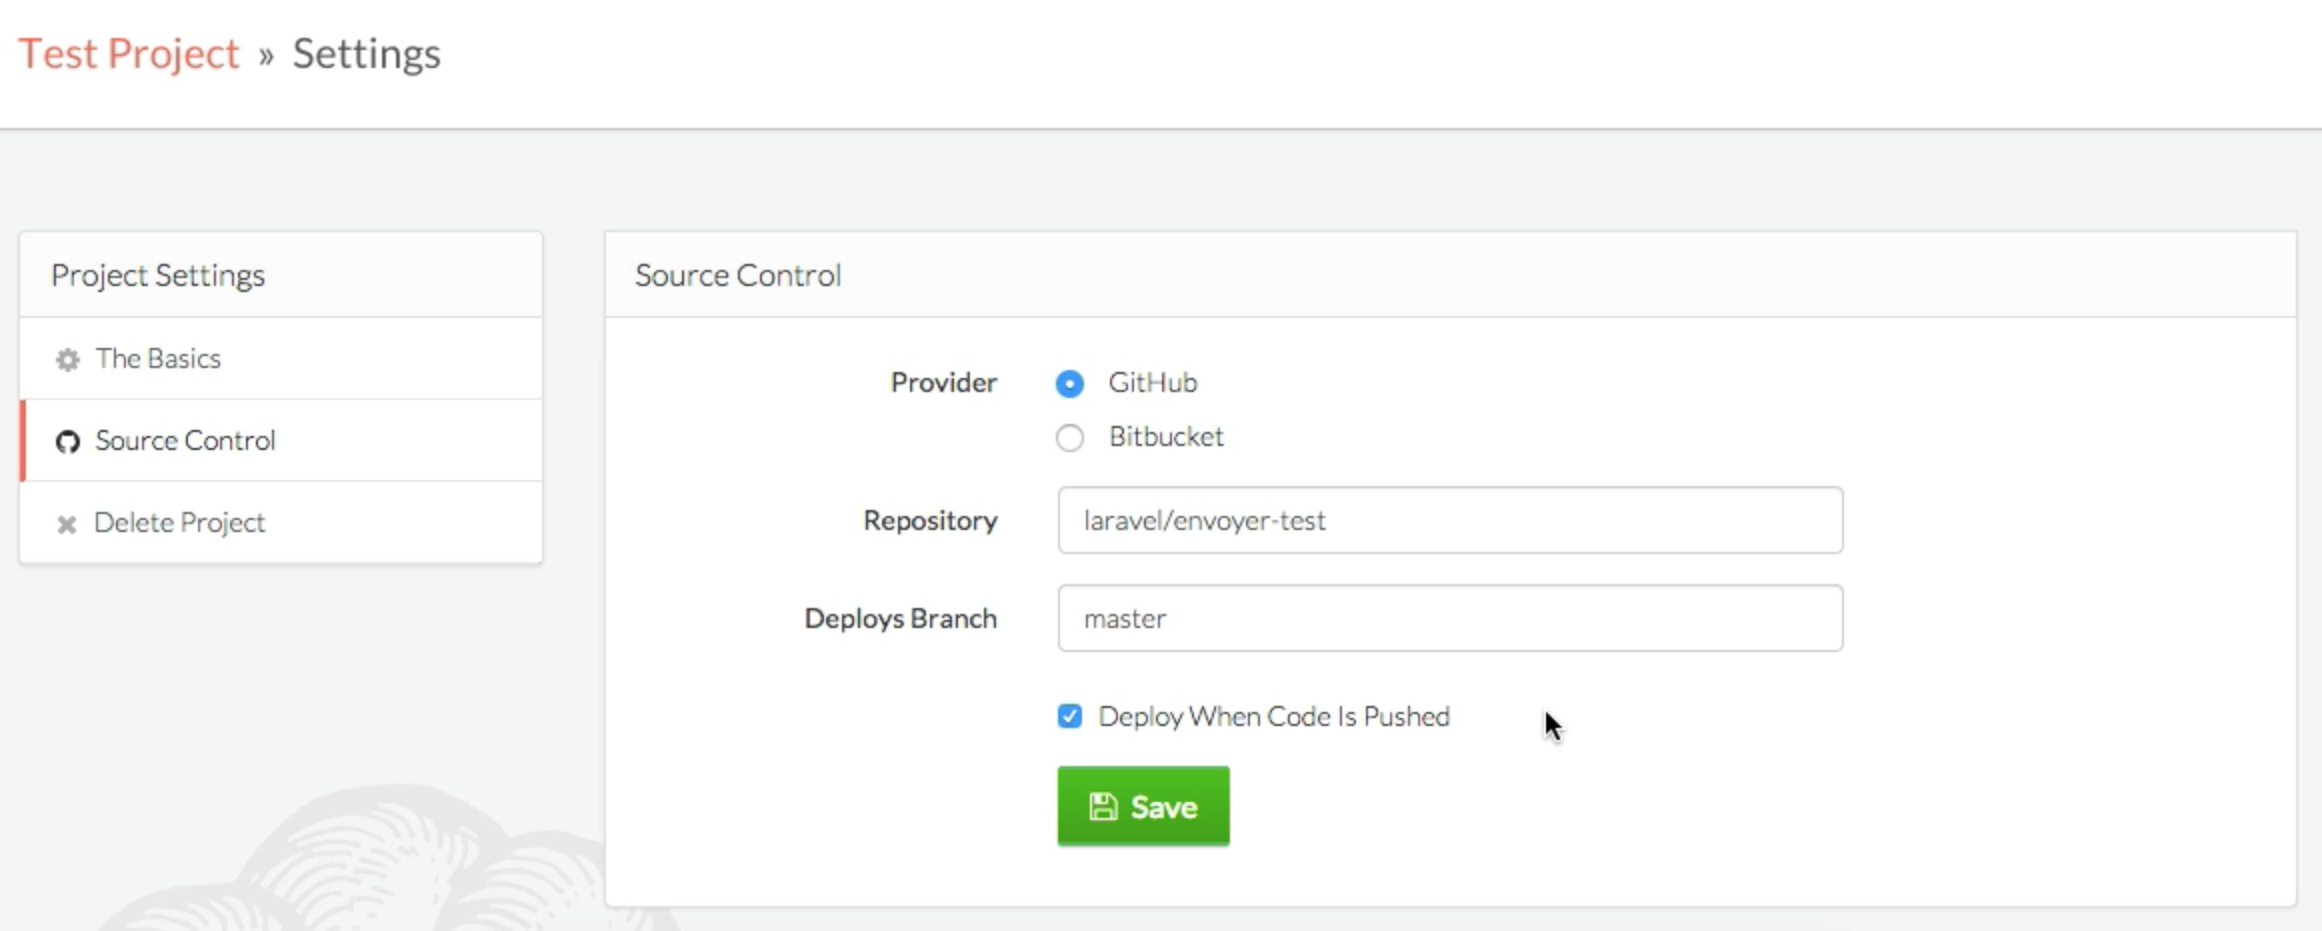
That’s it for your first project! You now have a project up and running on Envoyer. One note: if you want it to automatically deploy your code every time you add a new commit to your Git branch, go to Project Settings / Source Control and check the box labeled “Deploy When Code Is Pushed”:
Customizing your deployment hooks
Envoyer has 4 steps in its deploy process, and you can run custom scripts before or after each of these steps. The steps are Clone New Release, Install Composer Dependencies, Activate New Release, and Purge Old Releases.
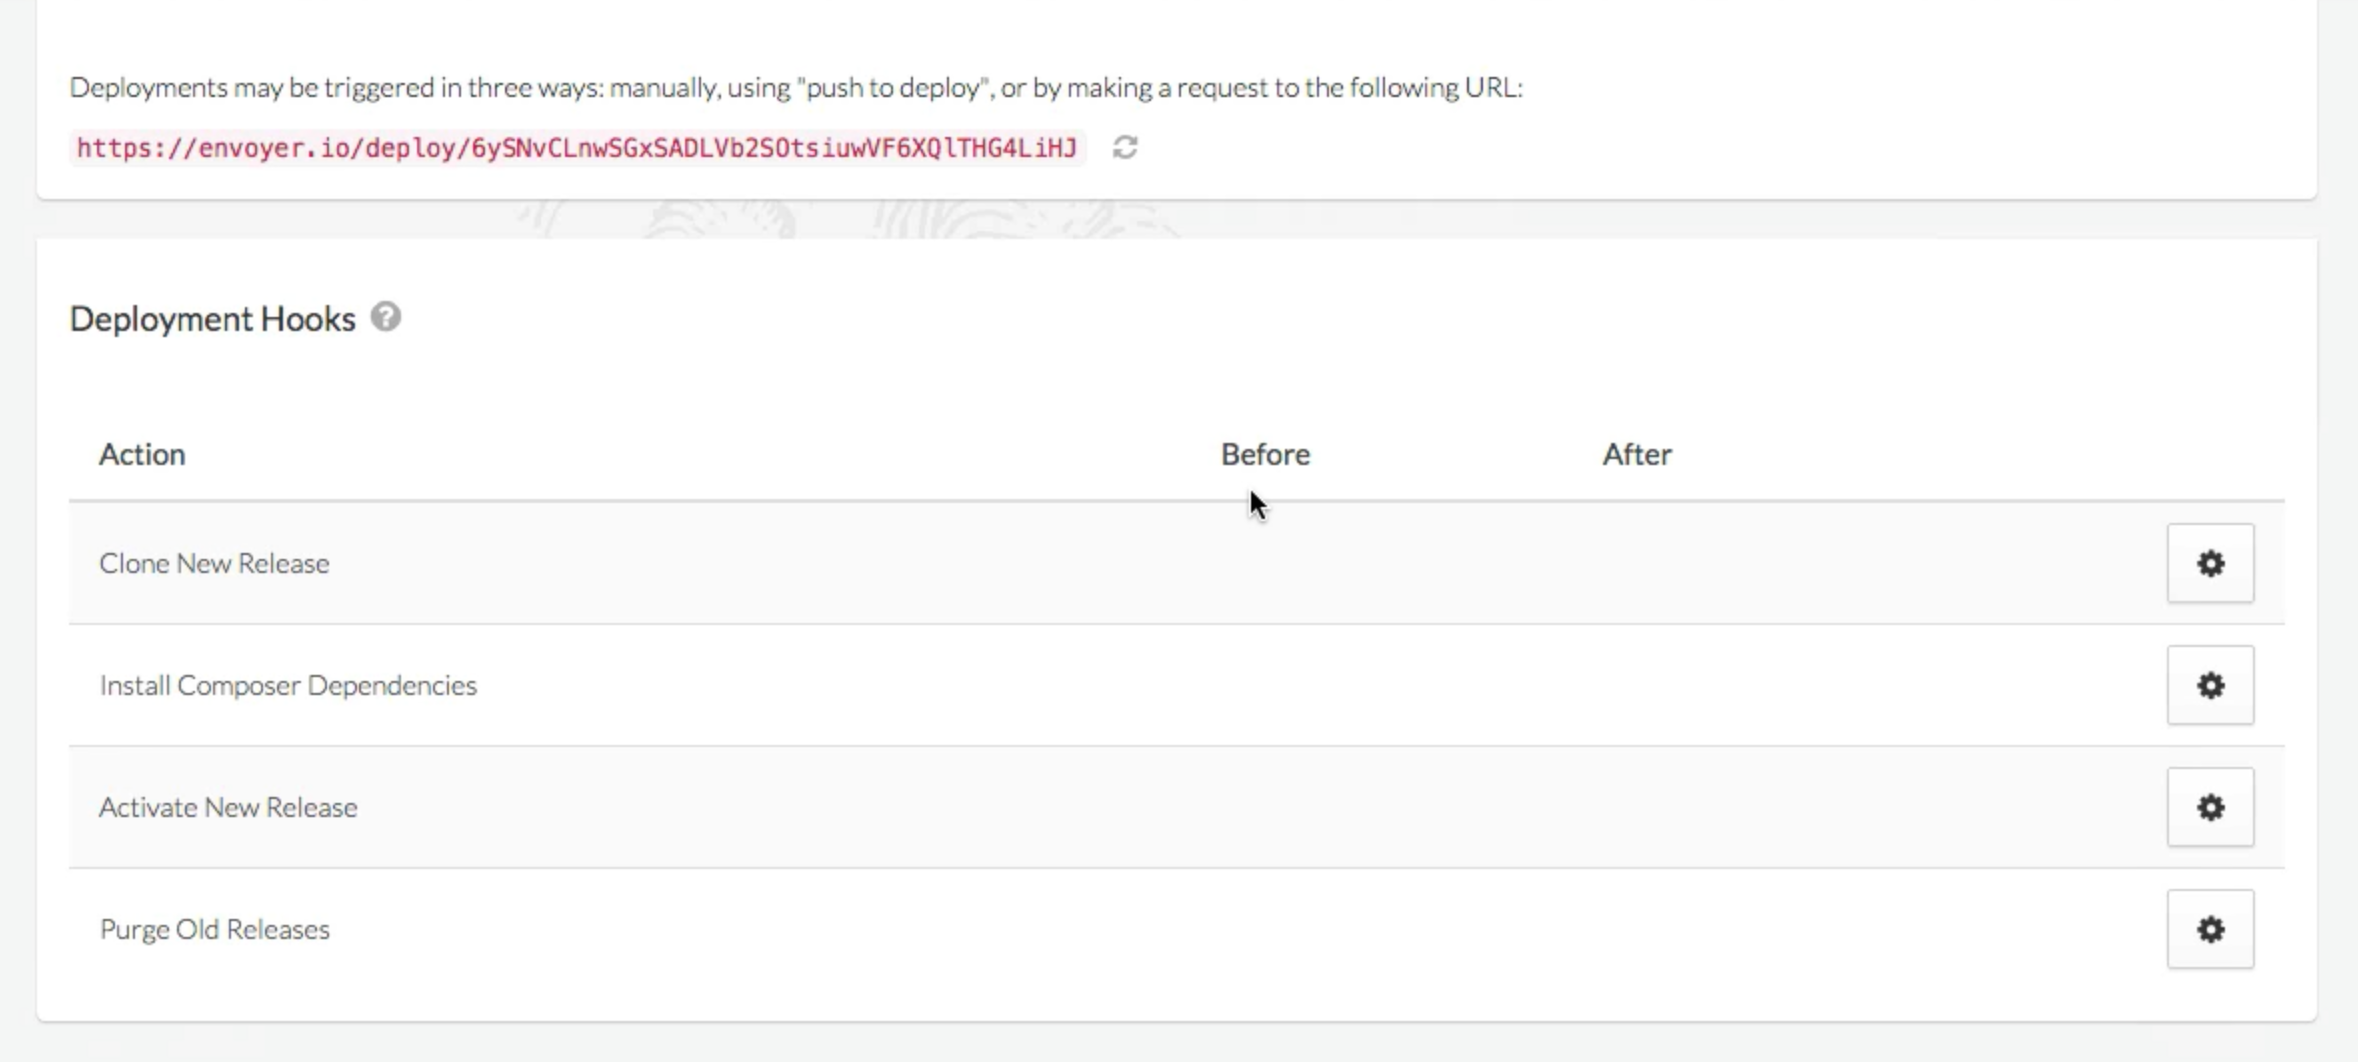
You can click the gear button next to any of the steps, and you’ll see this screen:
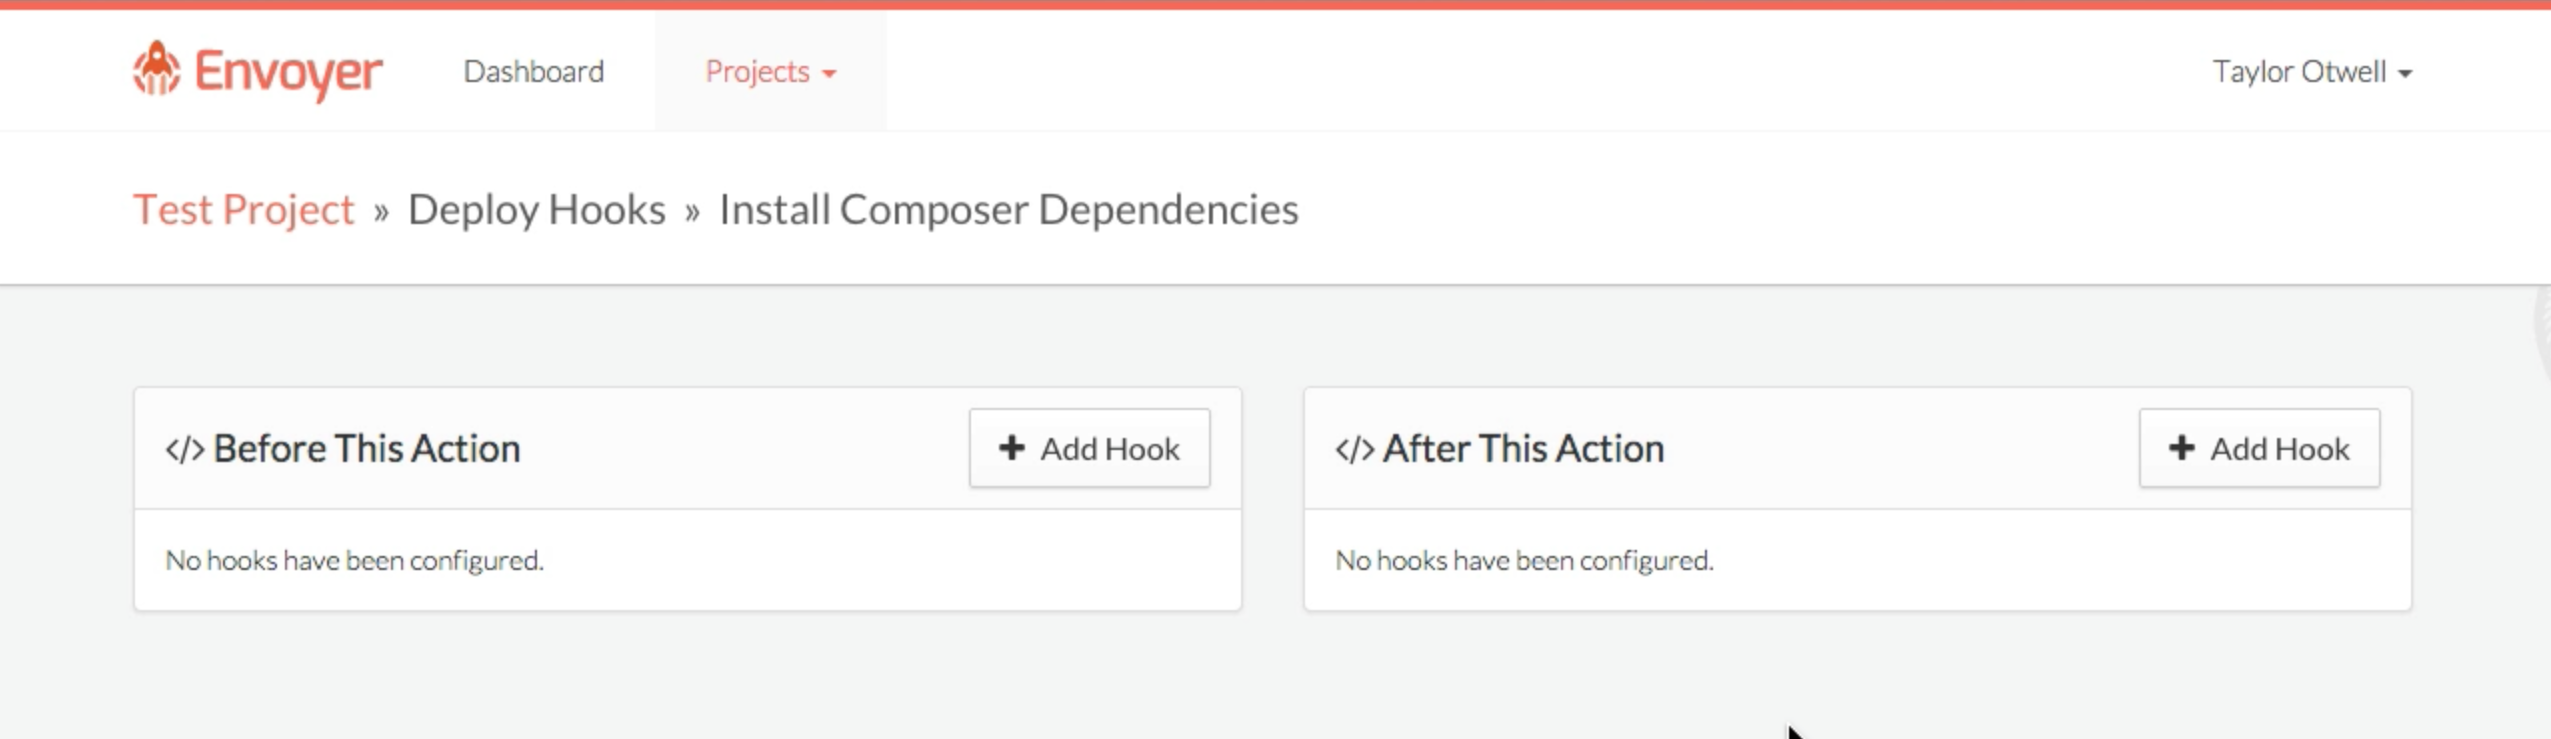
This will allow you to add hooks before or after this step. Click the Add Hook button on either side.
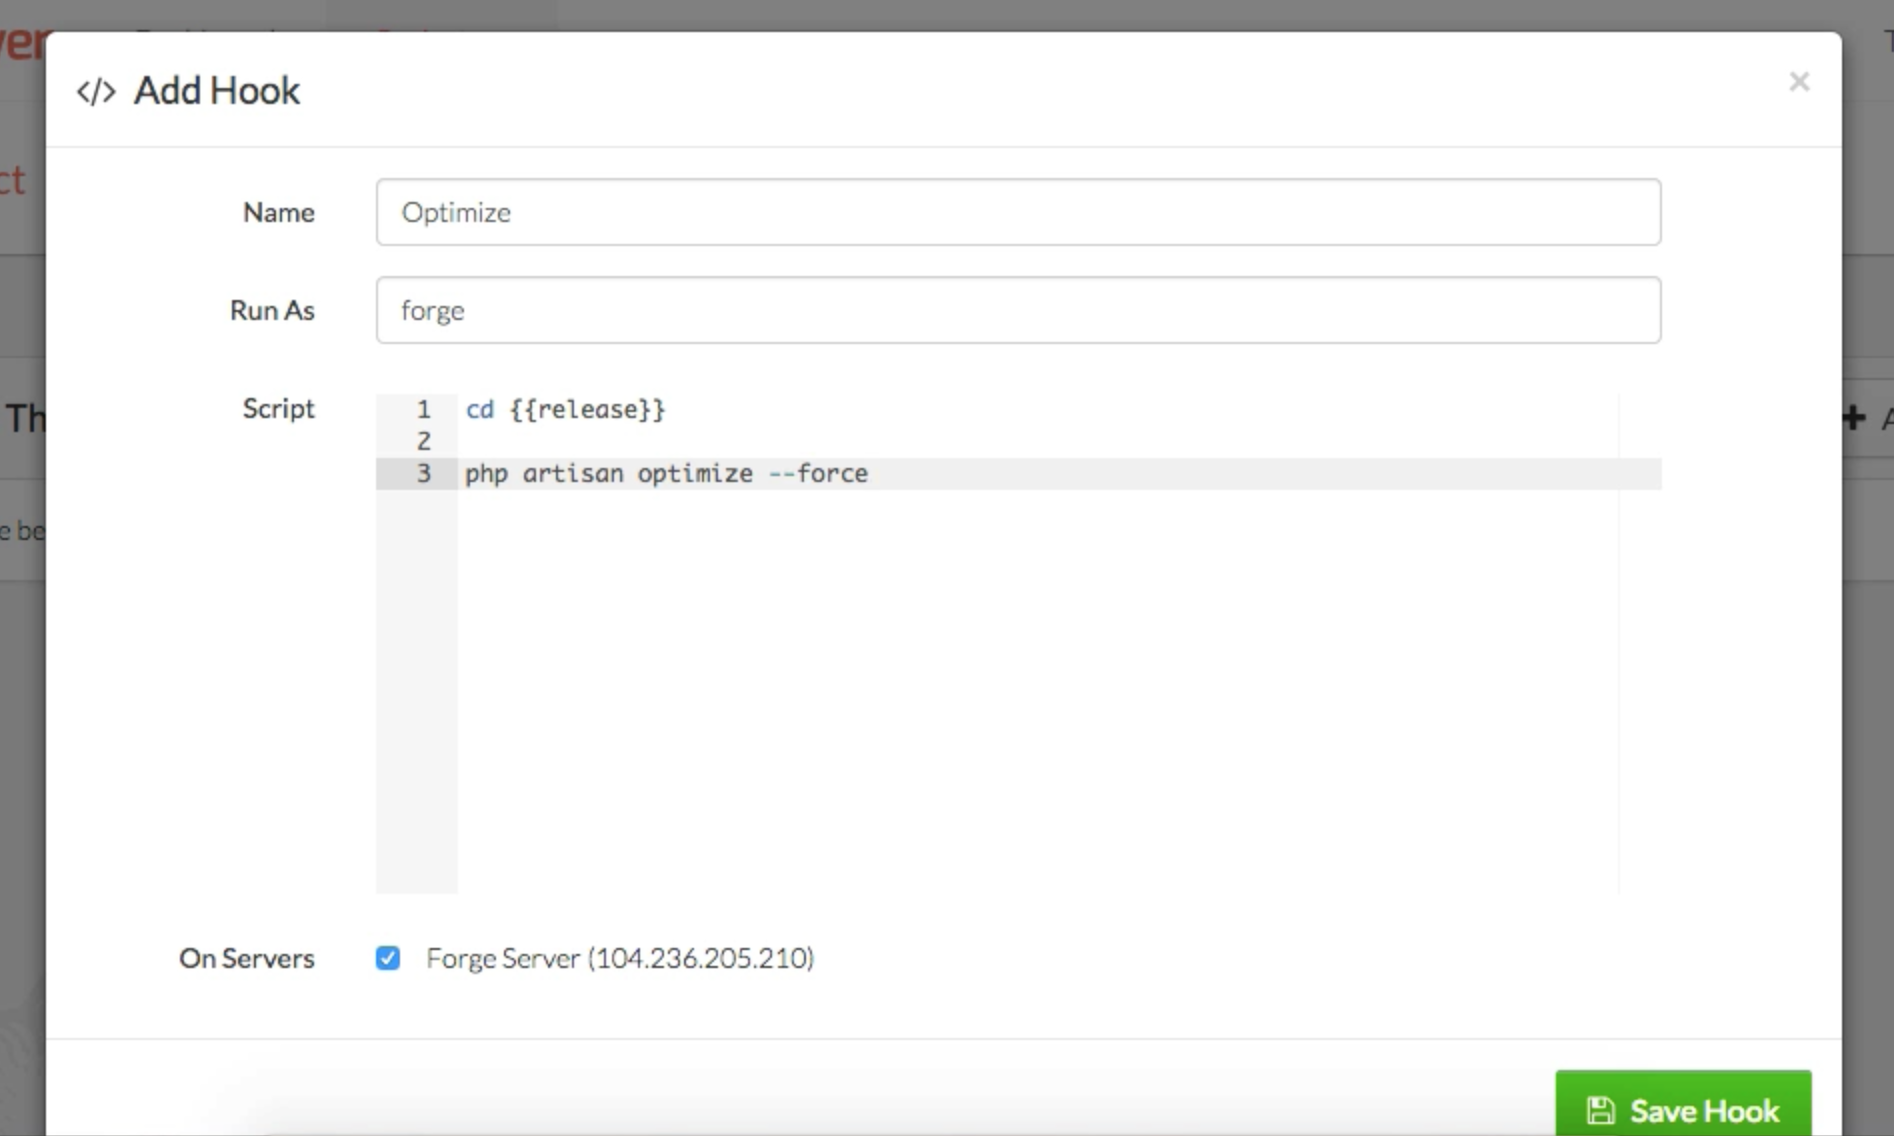
As you can see, each hook can customize its name, which user it runs as, and the body of the hook, which has access to the {{release}} variable which represents the folder path for the latest release folder--e.g. /home/my-user/website.com/releases/20150316083301.
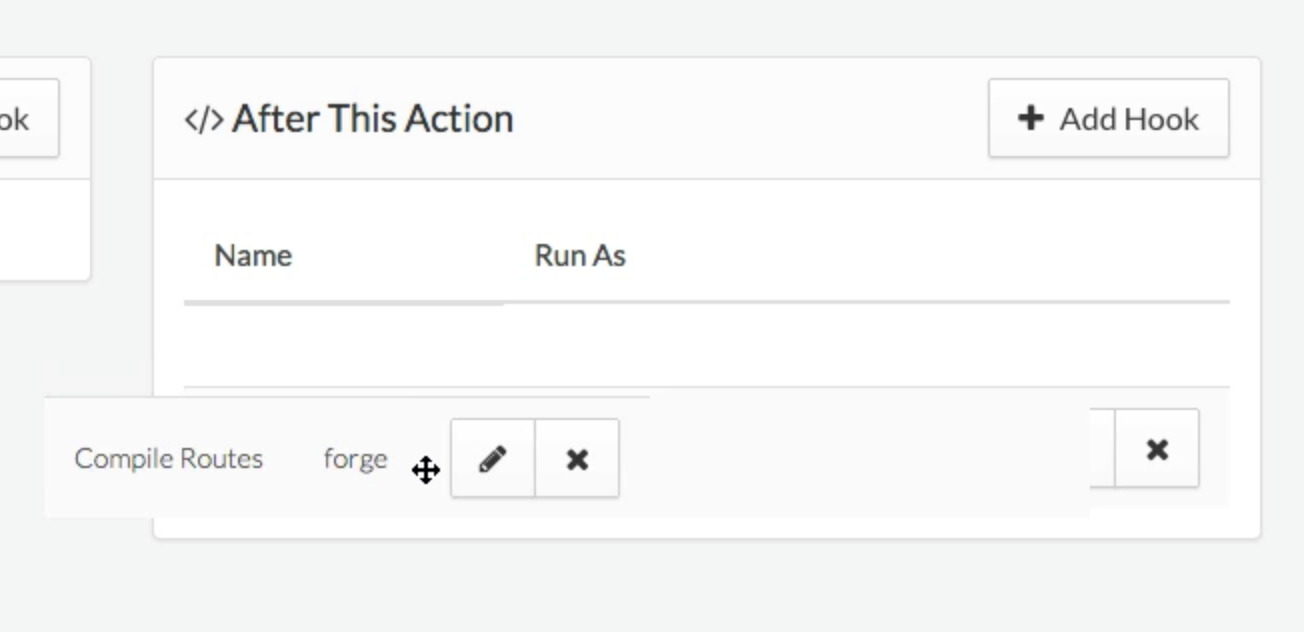
Note that you can also click and drag any of hooks in each section to re-order them:
Rollbacks
So, what if you push out a new deploy and you realize it broke everything? Normally you’d ssh into your server, git log, find a commit point, copy the hash, git checkout THAT_HASH, composer install, and then maybe stop to see if your heart was still beating.
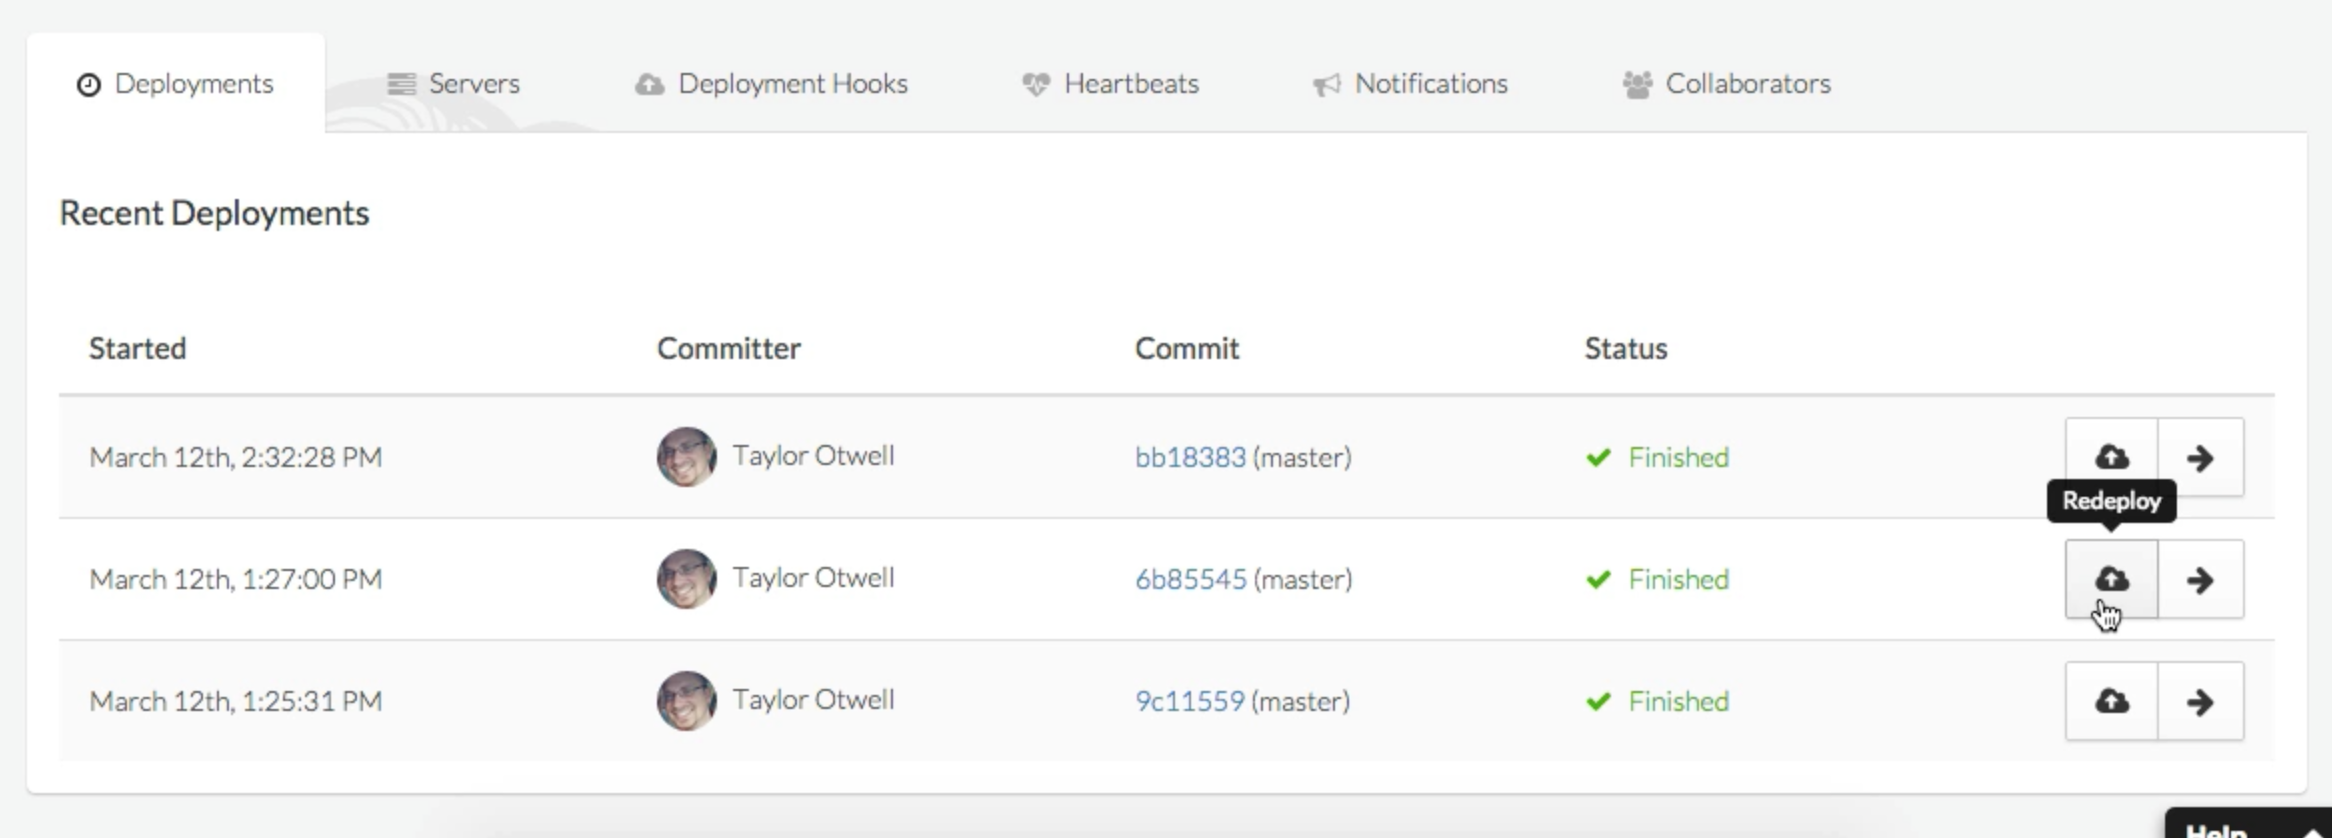
With Envoyer, your previous release is still a fully functional folder in the releases directory. Just go to your project dashboard, find the latest functional deploy, and click the cloud “Redeploy” button. It’ll take the releases folder for that deploy and symlink the current directory to it. That’s it.
Health
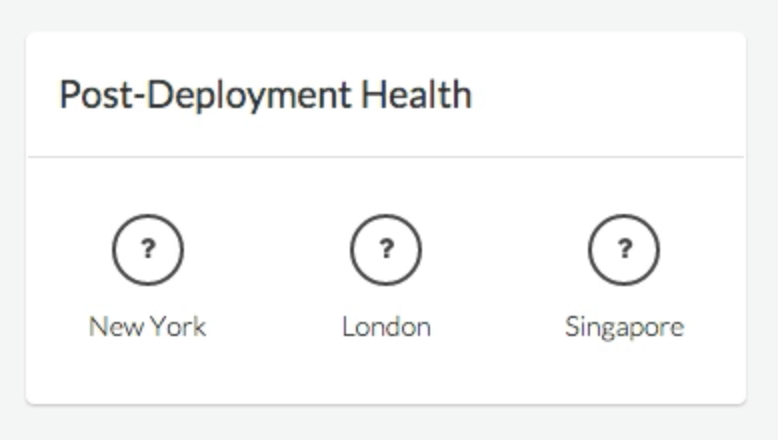
You may have noticed the Post-Deployment Health section of the Envoyer project dashboard. There’s an icon for New York, London, and Singapore, the three regions that Envoyer checks your site’s health from. Until you set up a Health Check URL, though, these icons will just be question marks.
Each project can have a Health Check URL, which Envoyer will call after every deploy. You can edit that in the Project Settings.
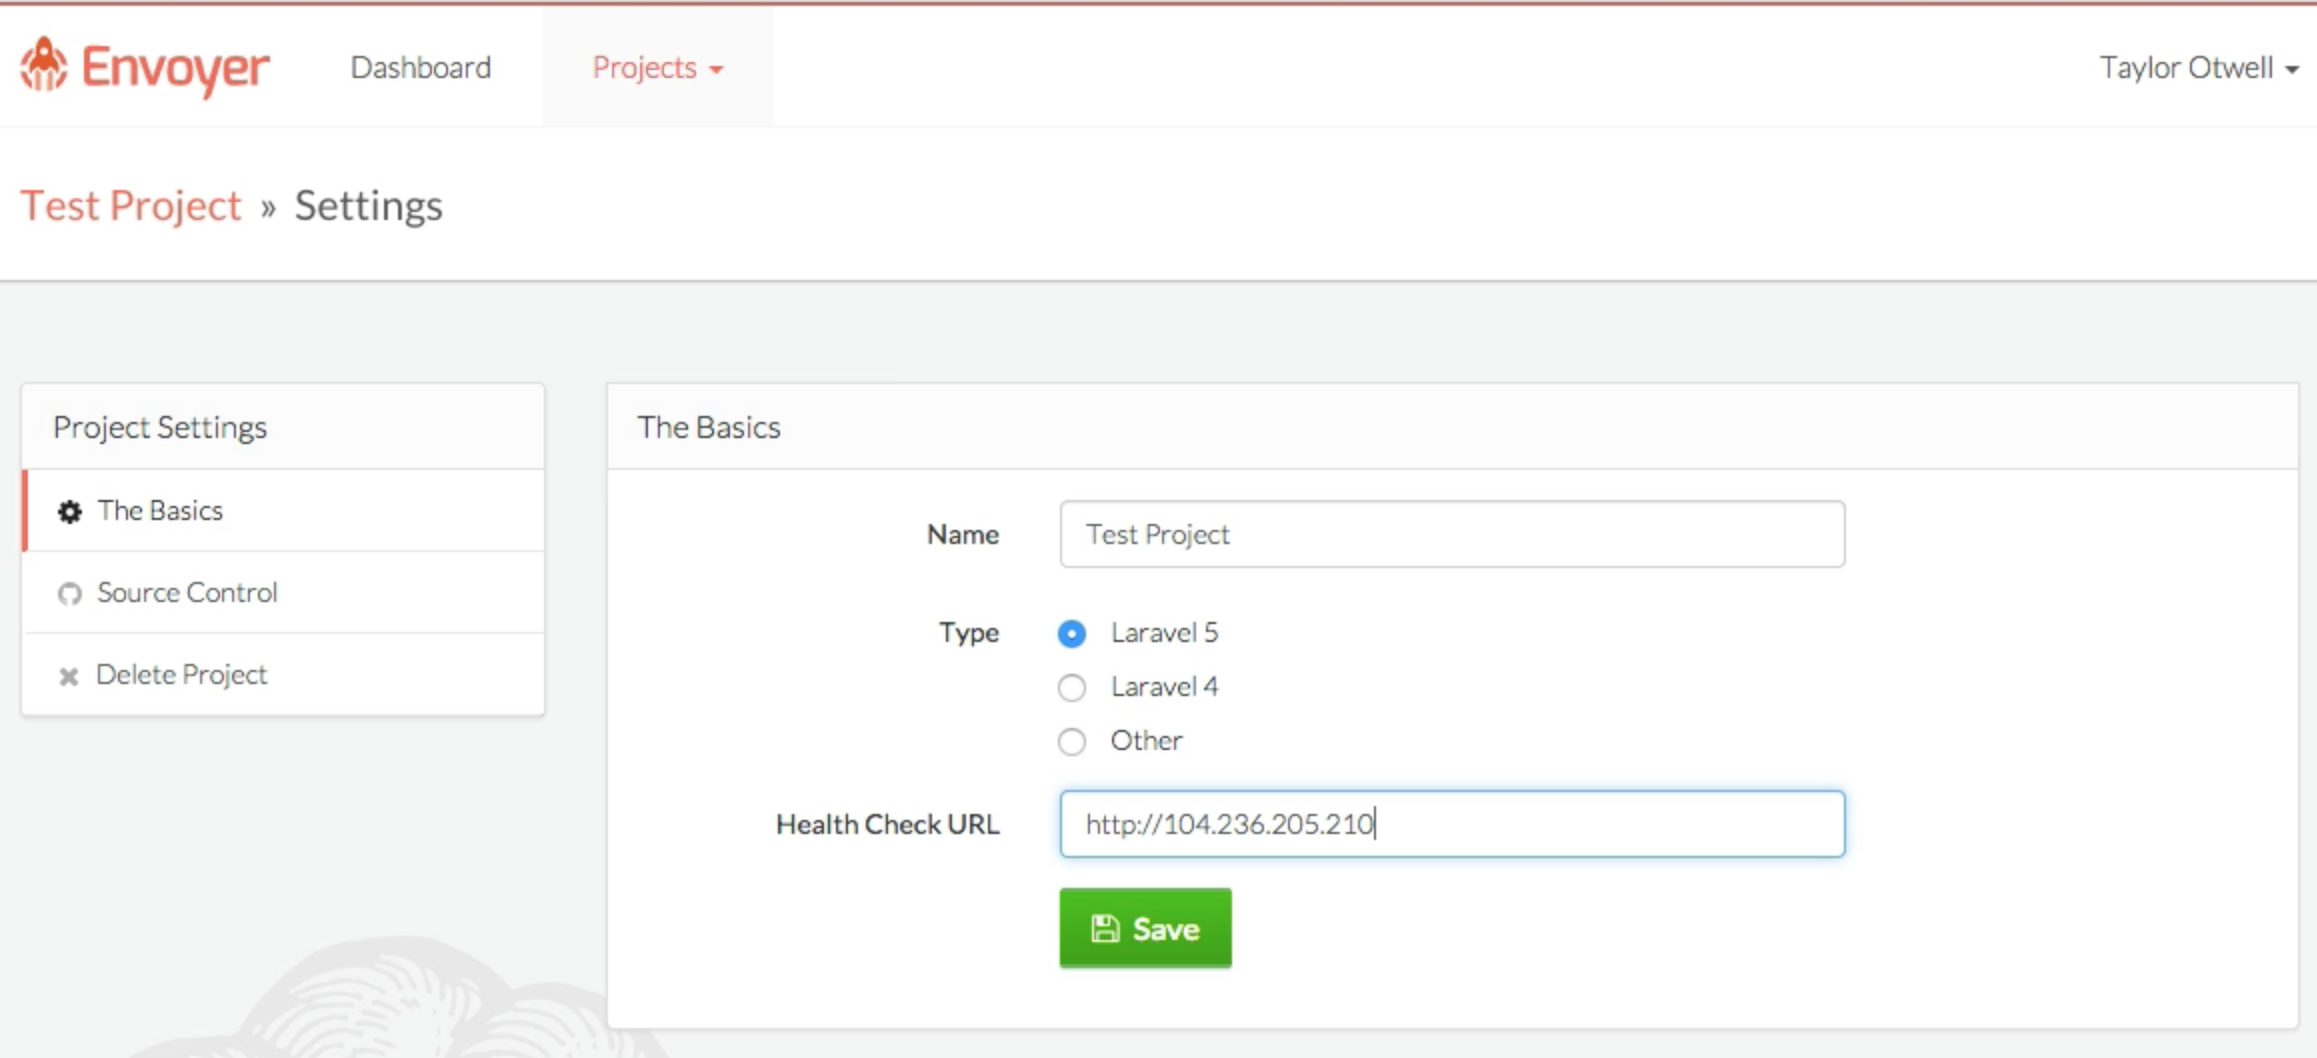
After every deploy, Envoyer looks at the HTTP response from that URL and makes sure that it’s 200 (the HTTP Status code for “OK”), and if so, it assumes your site is healthy. You could make this the home page of your site, or a special test URL that you handle in a way that best indicates the health of your site--whatever works best for you.
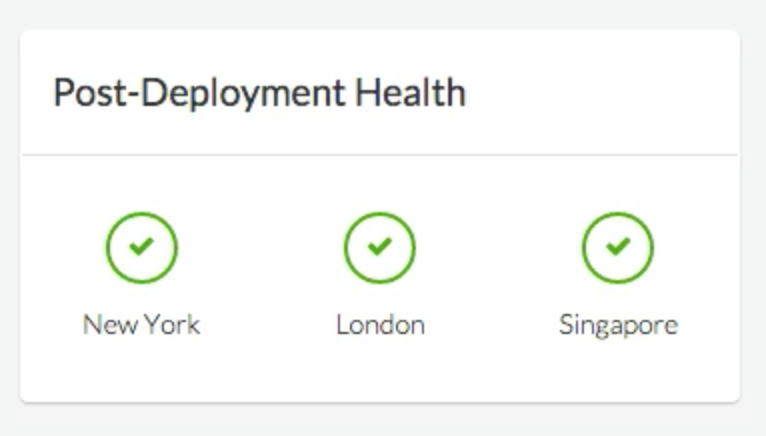
If everything’s healthy, you get all green checks:
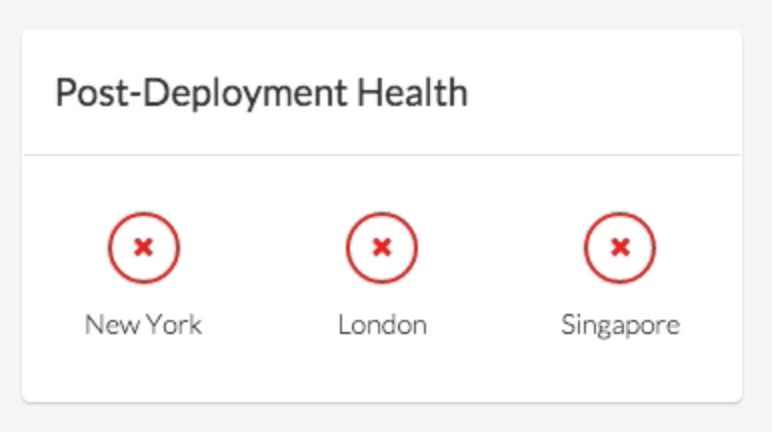
And if anything breaks, you’ll get red x’es (and you’ll probably want to read the Rollbacks section above):
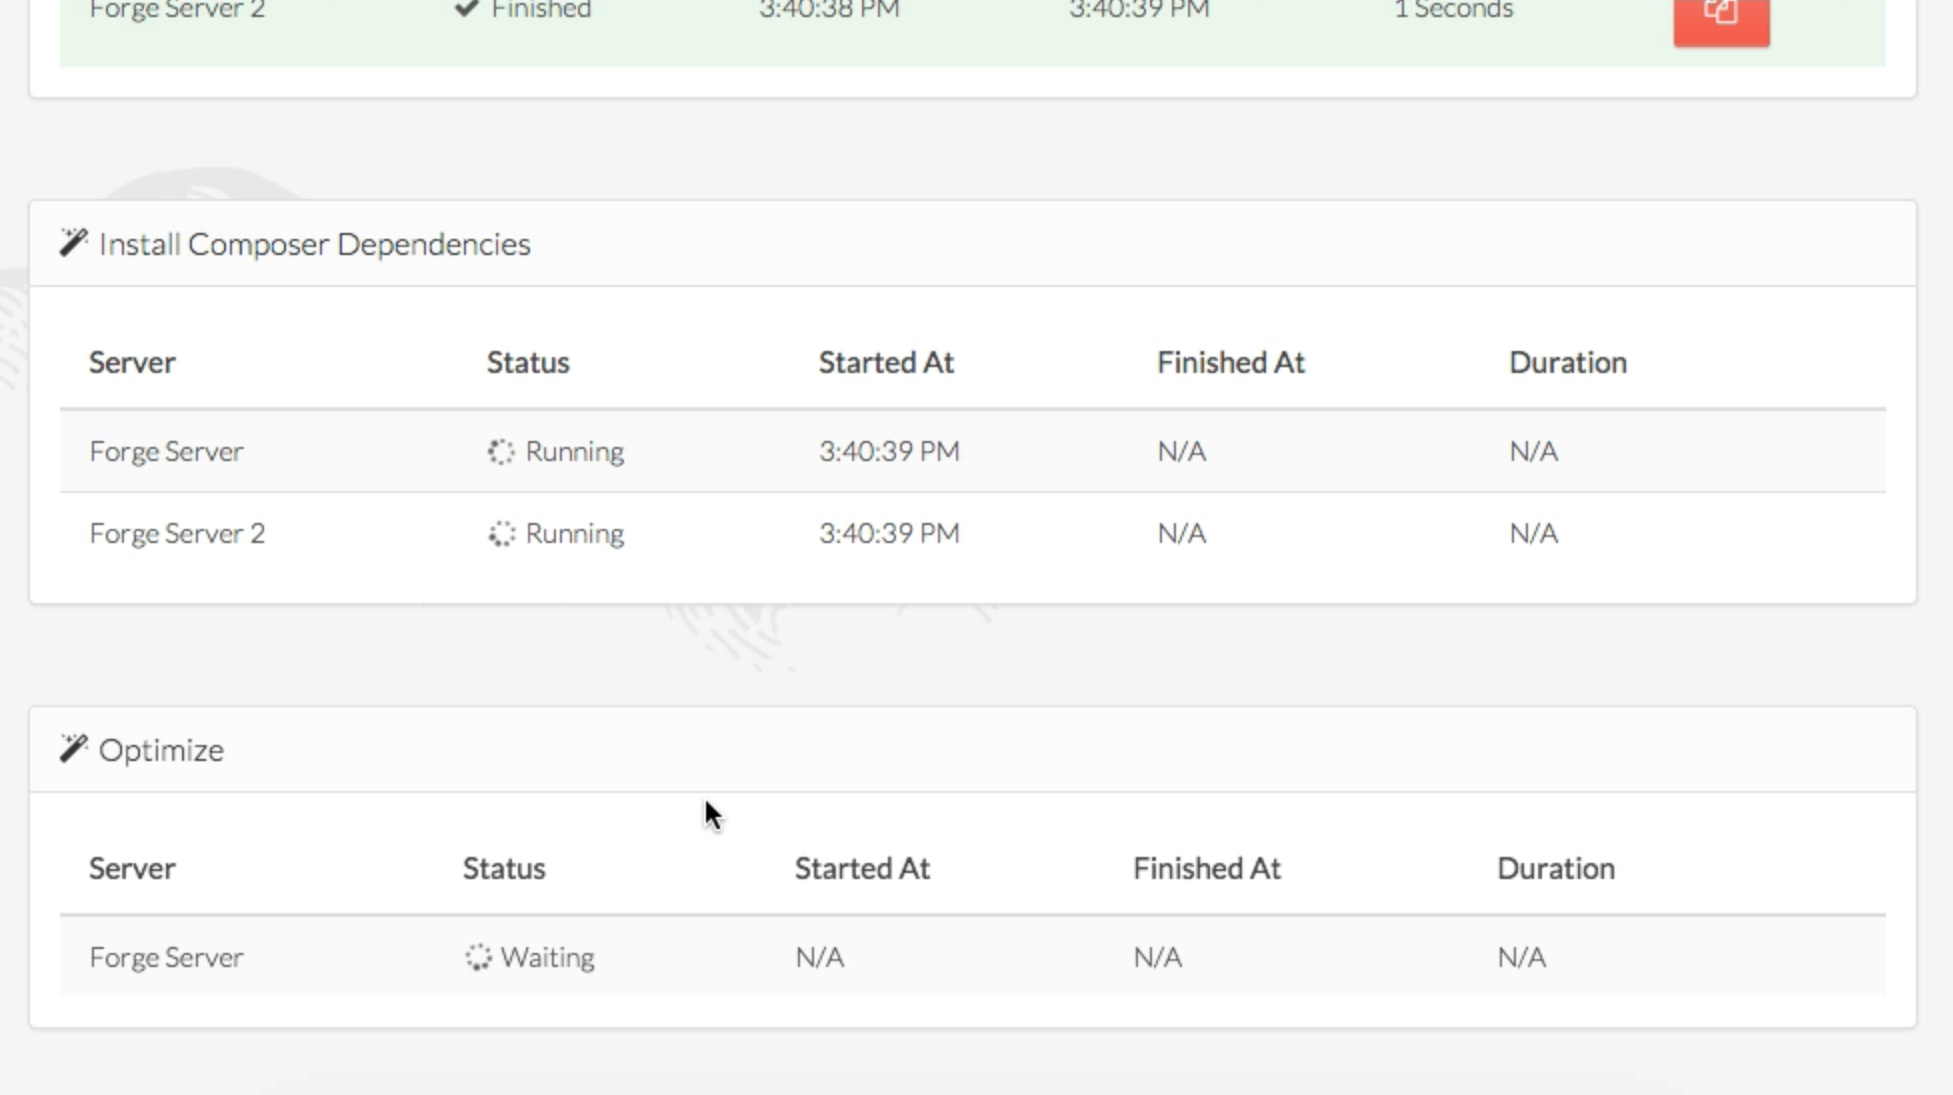
Deploying to multiple servers
If you want to deploy to multiple servers, just add a second server to your project and it’ll automatically be pulled into the deploy process.
Stages of deploy
Note, however, when the deploy process runs, it waits for each step to finish on each server before the rest proceed, ensuring all of your servers stay in perfect sync.
Environment configuration syncing
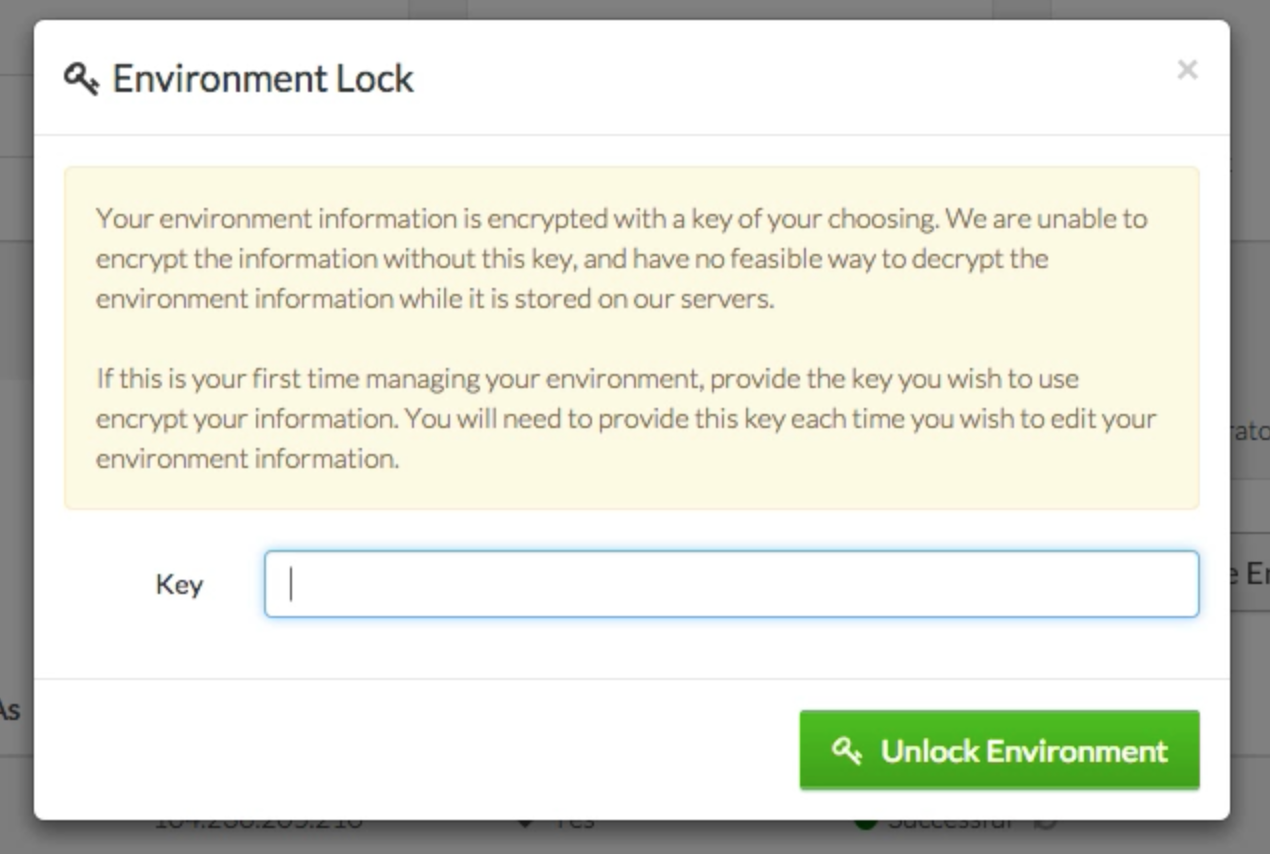
If you have local configuration files that you want to sync across your deploys and servers (.env if you’re using phpdotenv or Laravel 5, .env.php if you’re using Laravel 4), click the Manage Environment button in your project dashboard.
Note that this configuration file is hashed with a password that is never stored by Envoyer, so make sure not to lose your “Environment Key” (i.e. this password).
Once you enter your password, you’re presented with a text box that’s basically a code editor. Paste whatever you want in this file and it’ll be saved--if you chose Laravel 5 or Other as your project type, this file will be .env, and if you chose Laravel 4 the file will be .env.php.
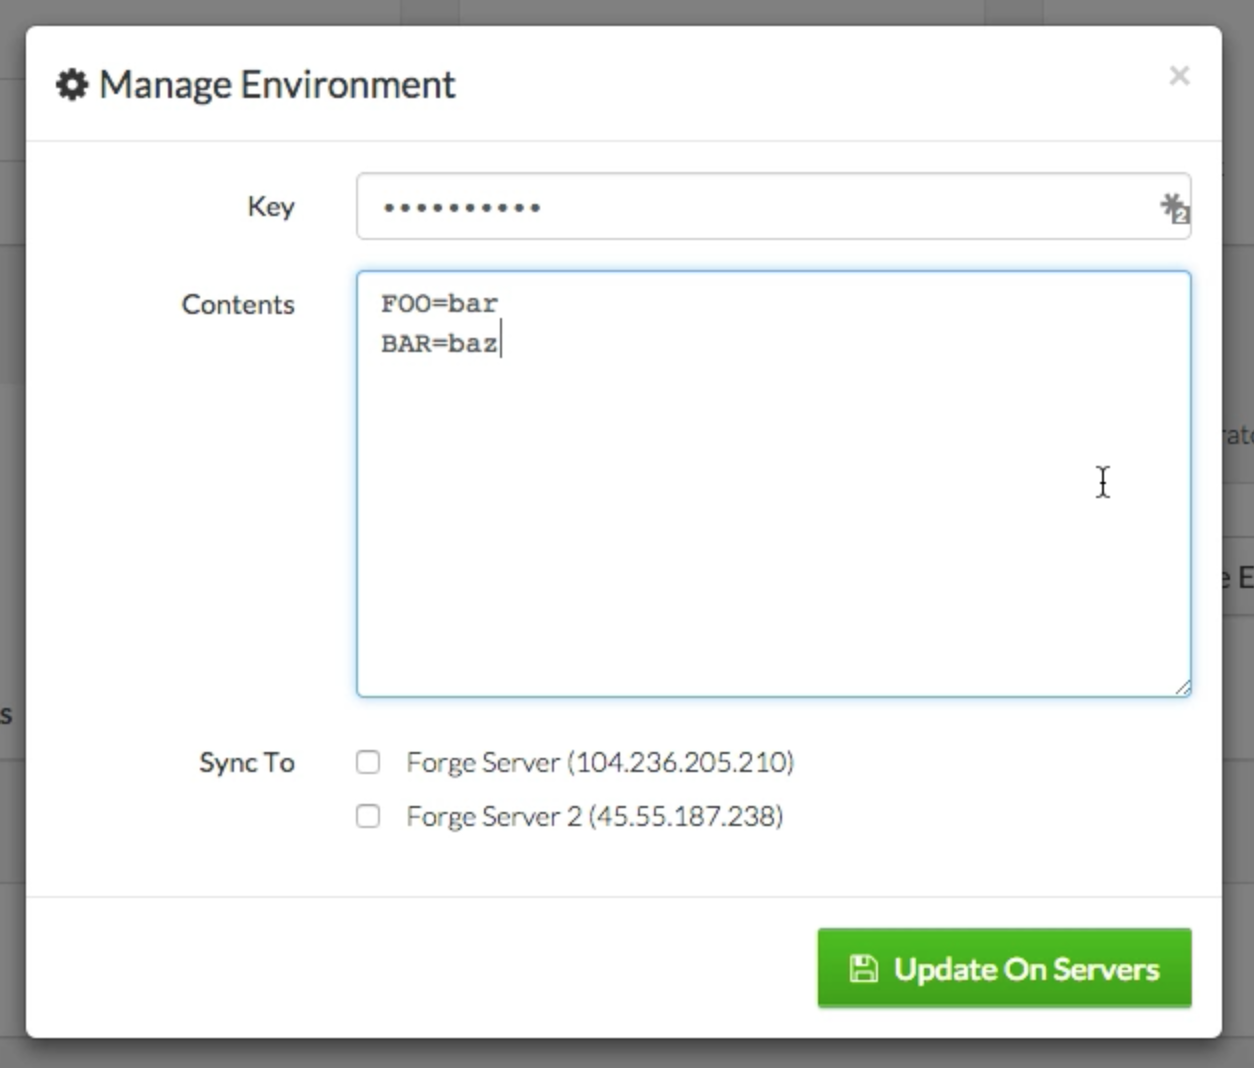
Now choose the servers you want to save it to and save.
Envoyer will manage saving this file to your web root and symlinking it into each release directory.
Notifications
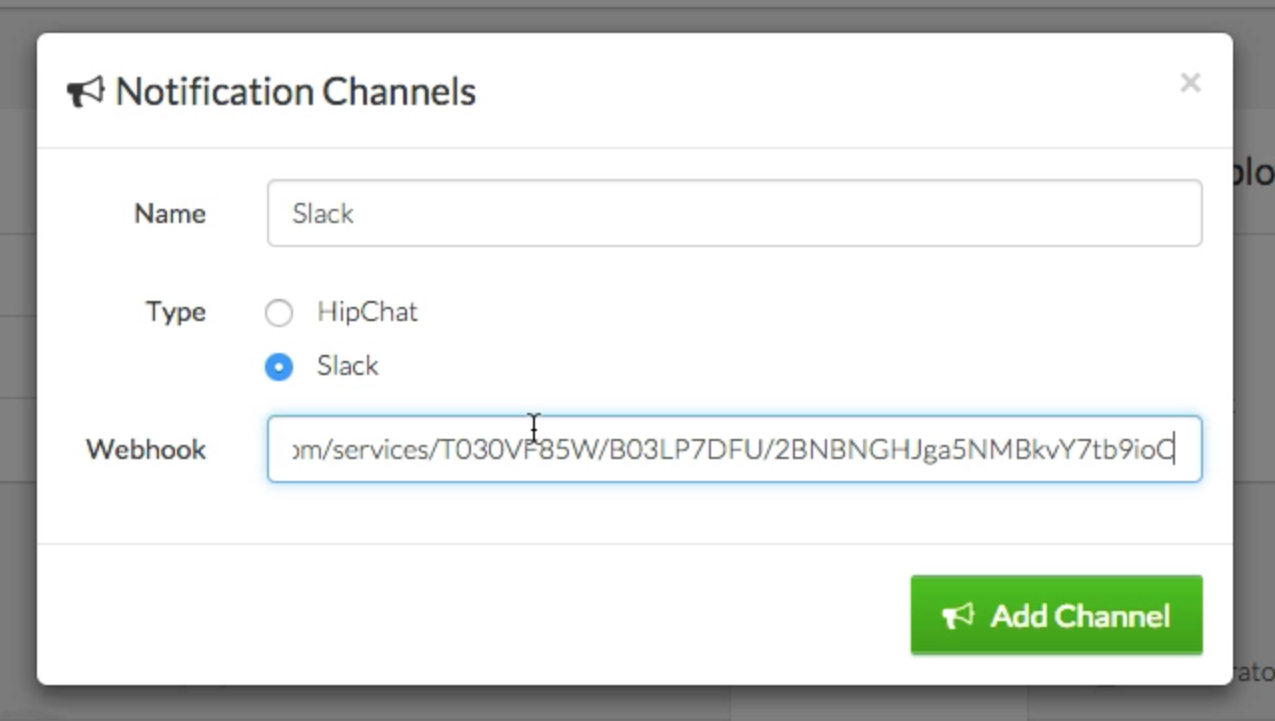
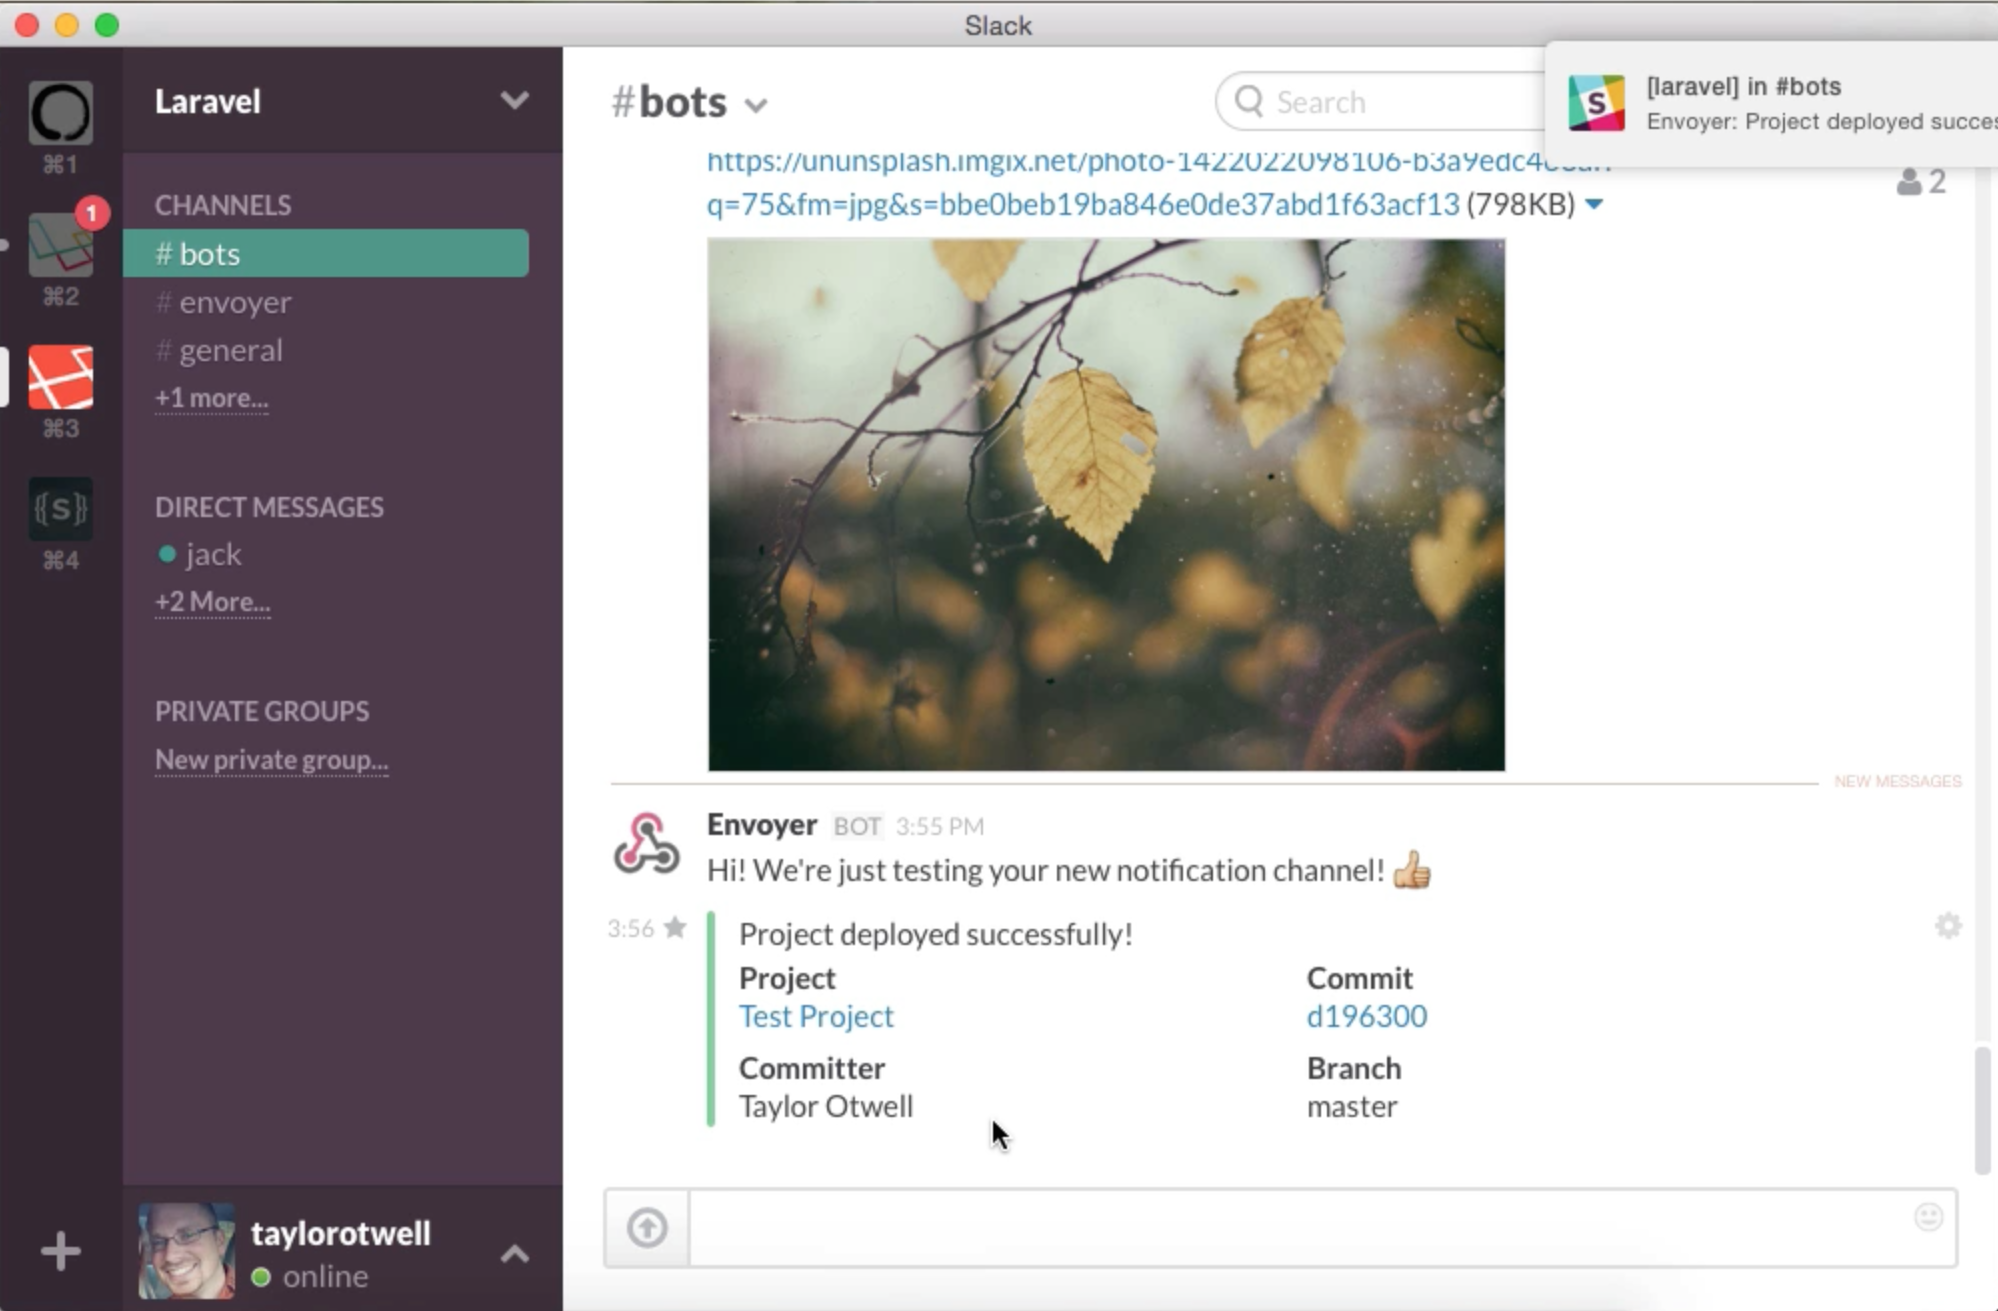
If you visit the notifications tab for your project, you can set Envoyer up to notify you upon any major events. Right now Envoyer can notify you in either a Hipchat or a Slack chatroom.
Heartbeats
One of the biggest difficulties I’ve had in managing servers’ health is ensuring that their cron jobs are always running. Envoyer’s Heartbeats allow you to set the expectation that a certain URL will be pinged at a certain frequency, which means you can have your cron job ping that URL at the end of each run. If Envoyer misses a ping, it’ll notify you.
To add a Heartbeat, go to the Heartbeats tab for your project. Click the **Add Heartbeat* button.
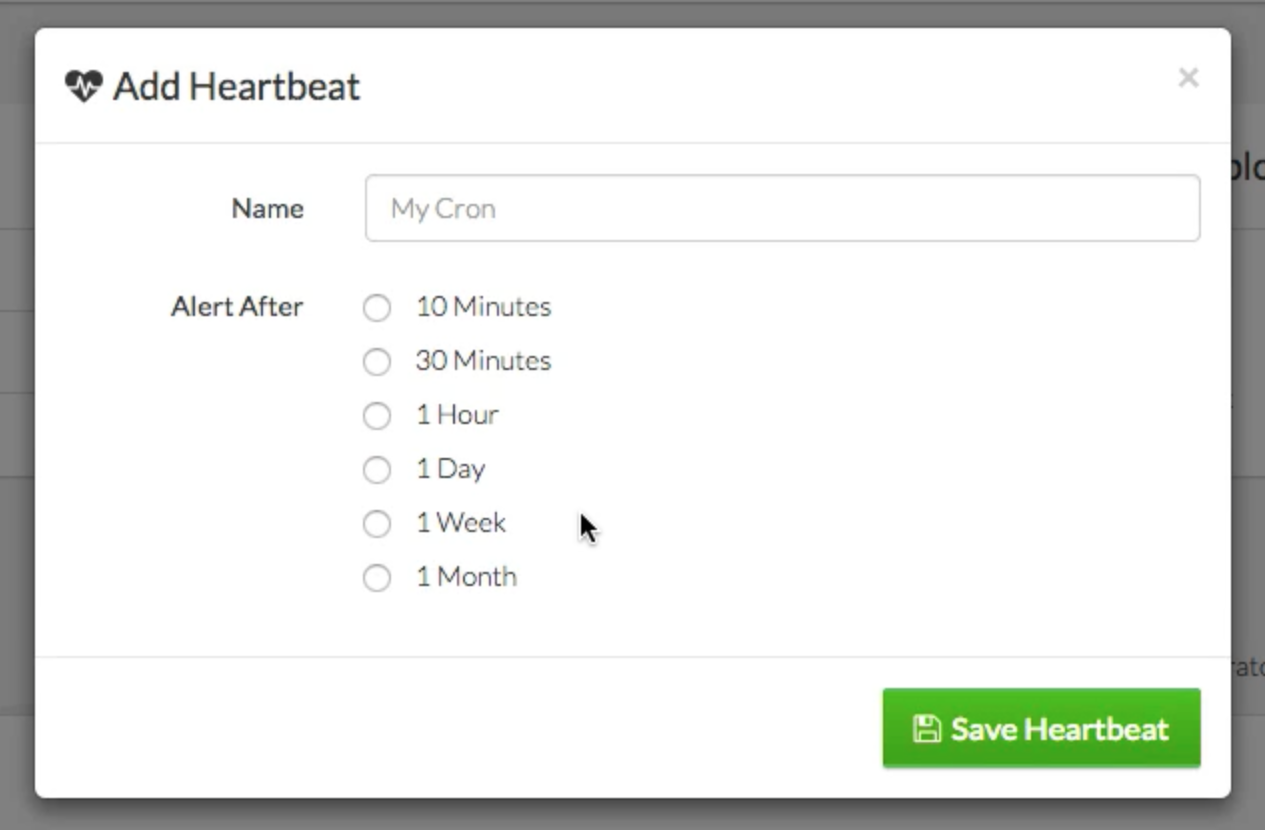
You can give it a label and then define the frequency with which you expect it to run.
Once you add it, it’ll start as Healthy. Until the period of time you chose has elapsed, it’ll stay Healthy. So if you chose “10 minutes”, it’ll stay Healthy for 10 minutes after you create it.
Pinging a heartbeat
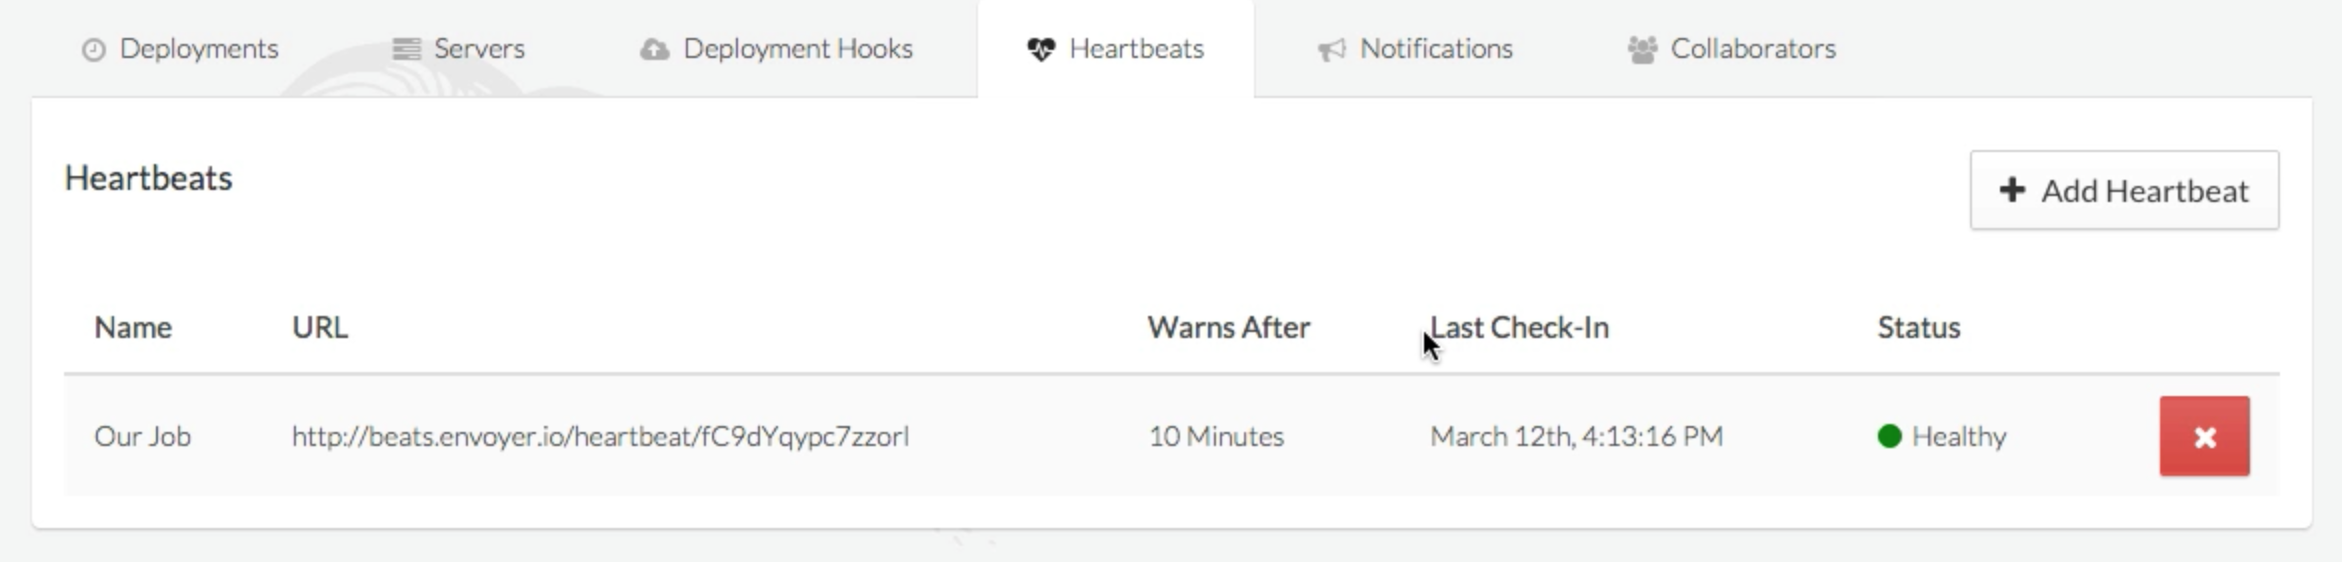
Each Heartbeat has a unique URL, which you can get from its listing on the Heartbeats tab. It’ll be something like this: https://beats.envoyer.io/heartbeat/203849102395790125
A regular cron file can just do this to ping the Heartbeat:
php yourfile.php && curl https://beats.envoyer.io/heartbeat/203849102395790125
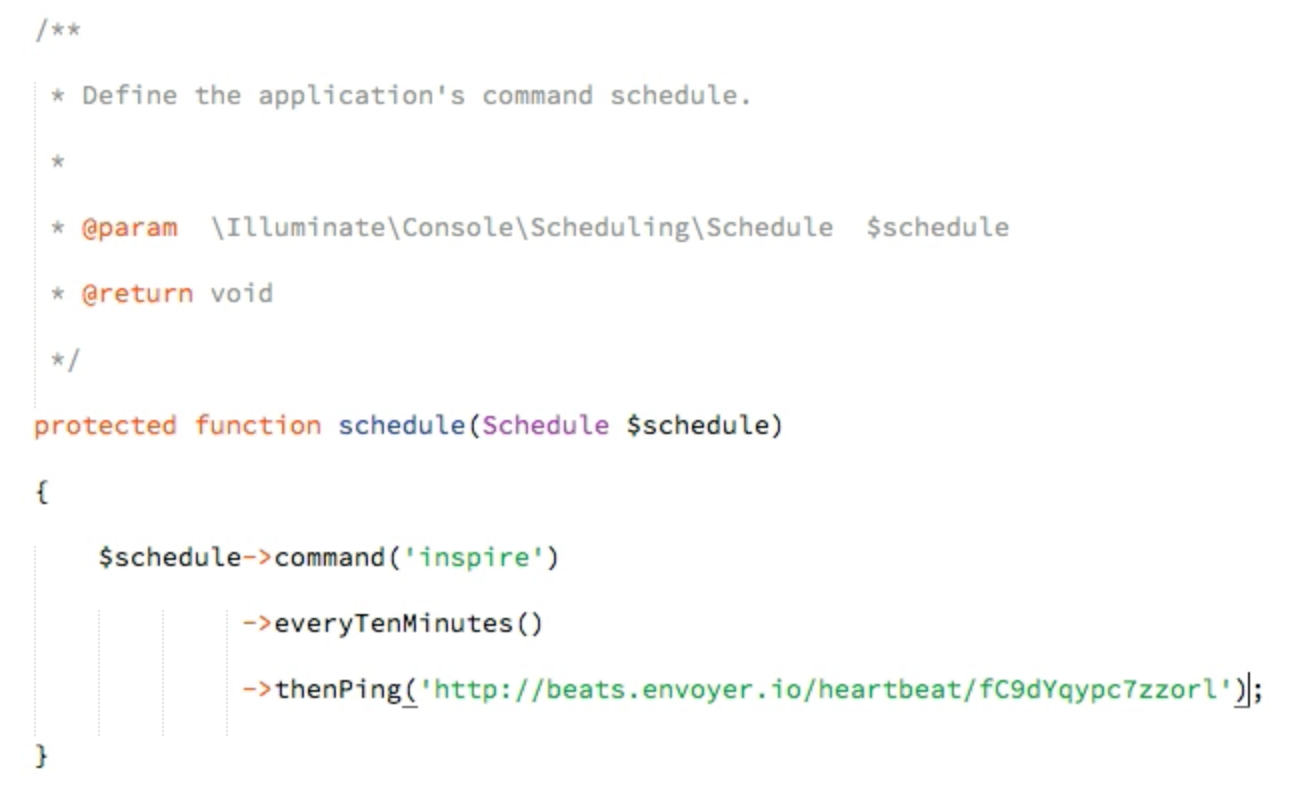
If you use Laravel, the latest versions of Laravel have added a thenPing() method to the scheduler that allows you to ping any URL after the cron job has run. This is perfect for Heartbeats:
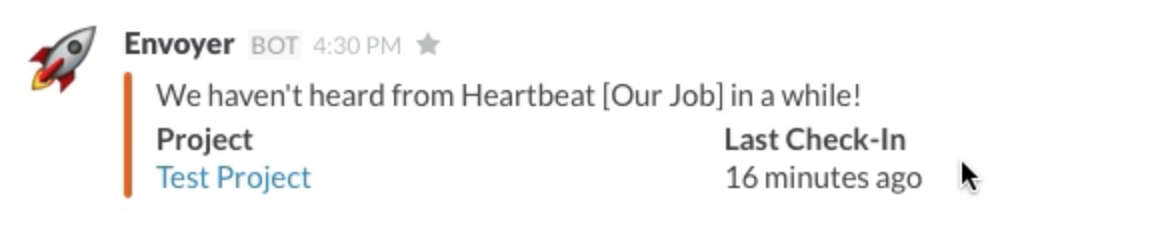
And here’s the notification you’ll get if your Heartbeat is missed:
Collaborators
Envoyer allows for an unlimited number of people to access your servers. If someone on your team wants to collaborate but not set up their own Envoyer account, just have them sign up and choose “I’m just collaborating with others.”

Envoyer has a Collaborators tab on each project that allows you to give other people access to your project by inviting them via email.
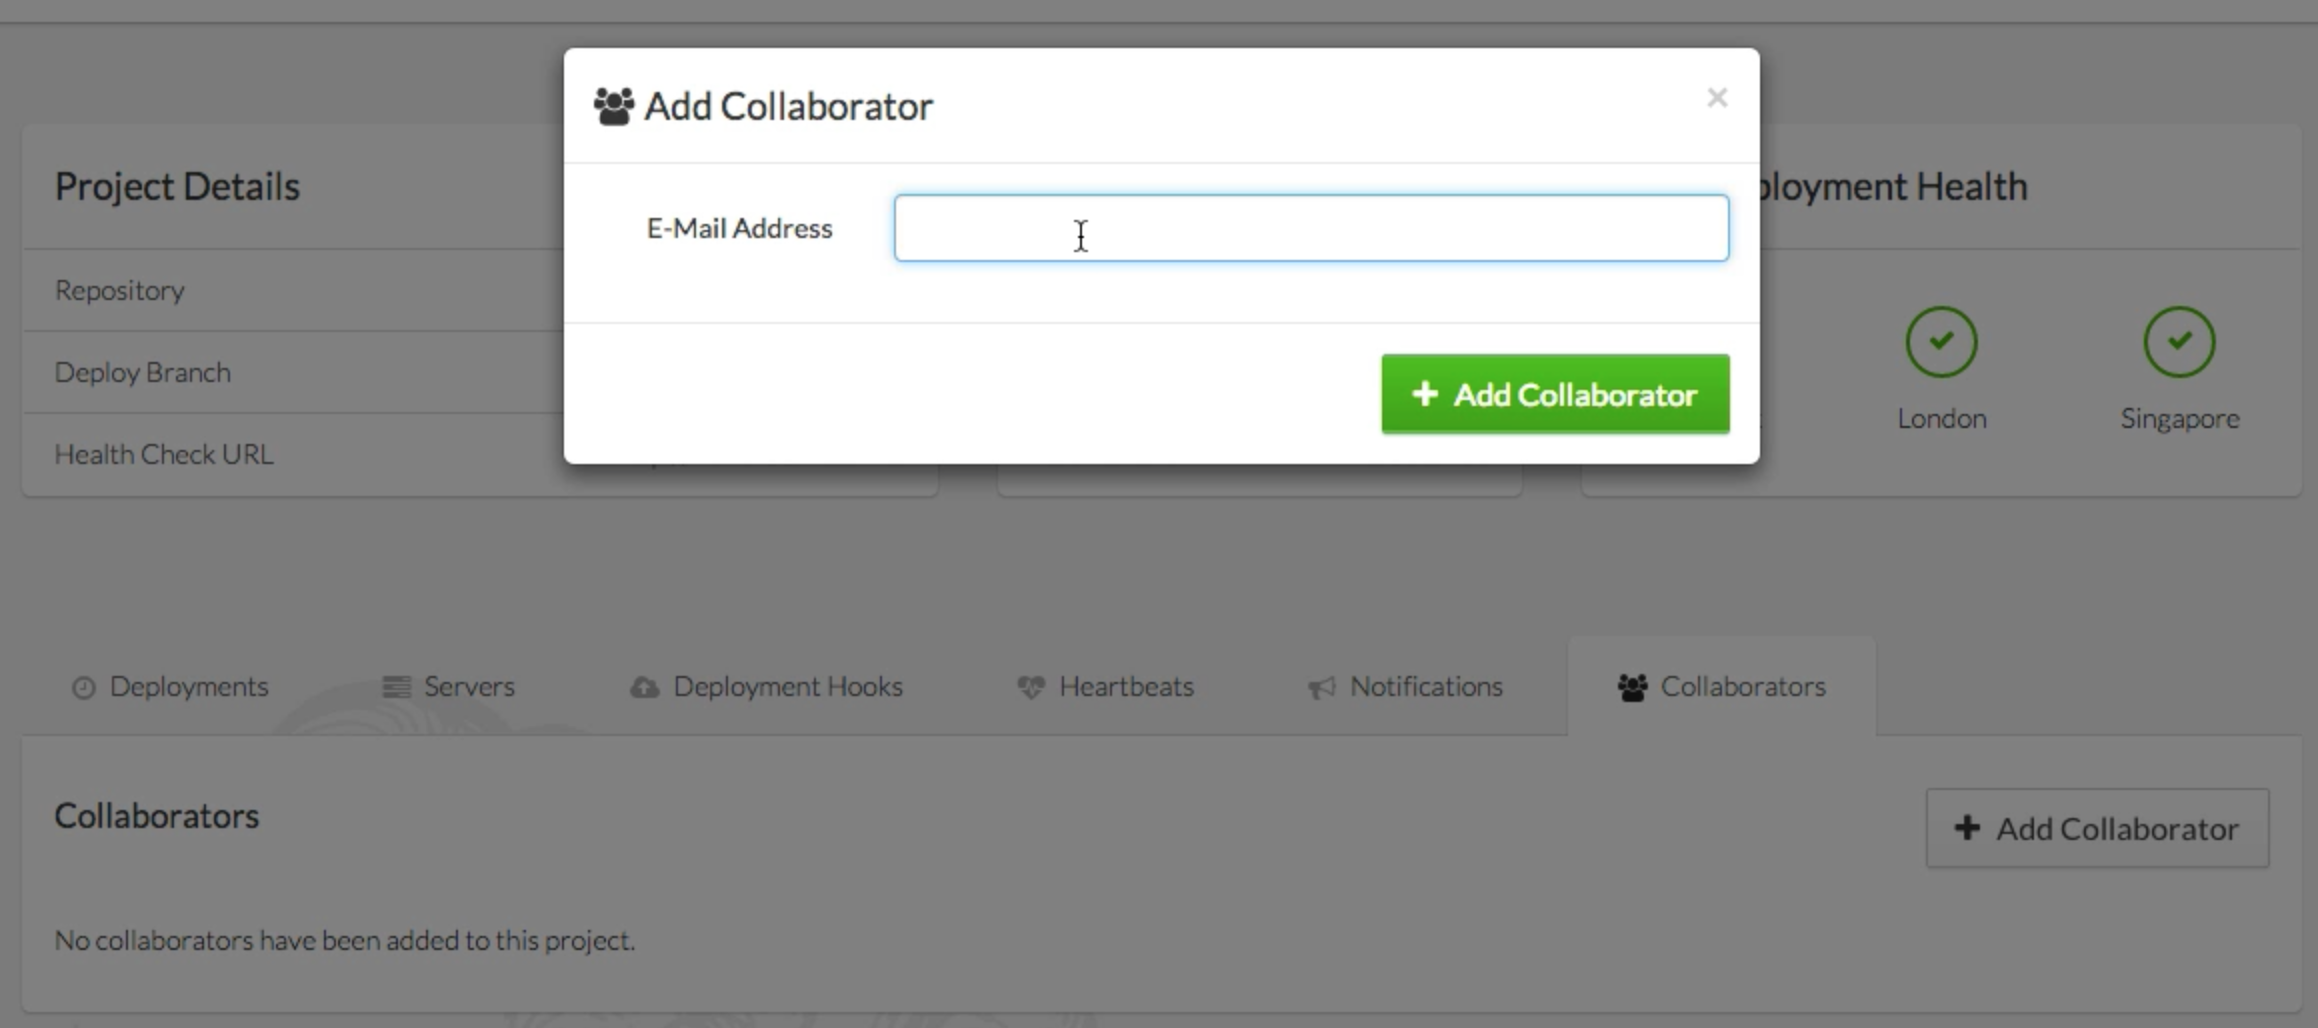
Note that collaborators have access to everything in the project except “Delete project.”
FAQ
- Does Envoyer replace Forge? Nope. Envoyer doesn’t manage your servers. It can be used with any VPS, regardless of what service is managing it. However, it makes a great companion to Forge.
- How does Envoyer authenticate with my server? Once you add a new server, Envoyer will give you an SSH key to add to that server so that Forge can authenticate.
- Can I use Envoyer with a non-Laravel project? Absolutely, although some of the automatic conveniences of Envoyer won’t work for you--for example, the automatic linkage of the
storagedirectory. But all of that is customizable. - If I’m using Forge, should I connect the site to my Git repo in Forge? Nope. Just spin up the site, and leave it disconnected from any repository. Envoyer will handle all of that.
- What happens if there’s an error during one of the steps of my deploy process? Envoyer will notice it, and notify you. It’ll also cancel the deploy.


Comments? I'm @stauffermatt on Twitter
Tags: envoyer • laravel